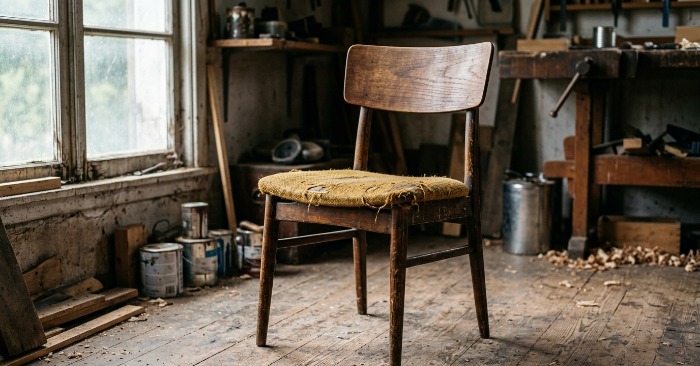
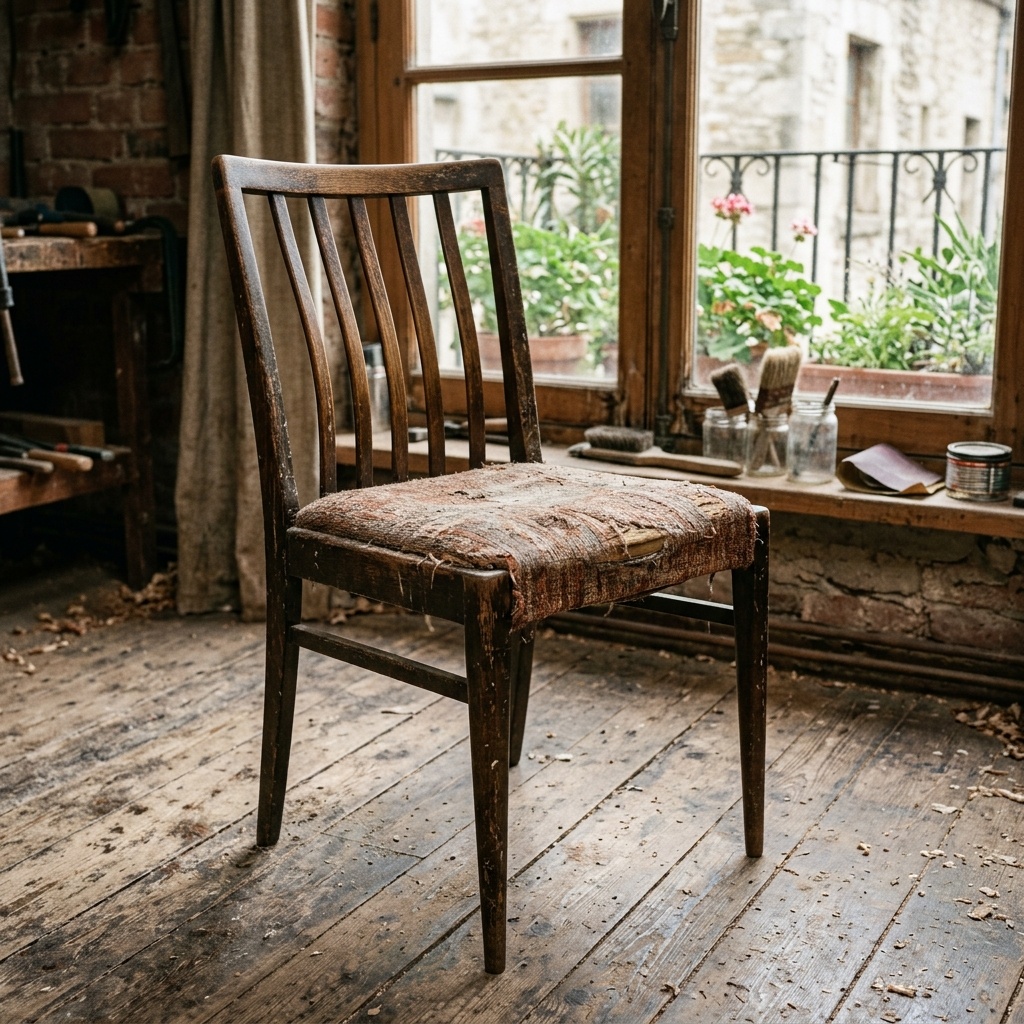
What many people now throw straight into the trash can actually become one of the most beautiful pieces in a home. Old wooden chairs from the 1960s and 1970s may look worn out under layers of dark lacquer and damaged upholstery, but restorers say solid vintage furniture often hides far better quality than modern mass-market pieces made from cheap plywood and pressed materials.
The process of restoring an old chair turns out to be surprisingly simple even without professional equipment. According to experienced DIY enthusiasts, all it really takes is patience, careful sanding and the right materials. Once the old varnish is removed and the natural wood grain finally reappears, the transformation can feel almost shocking.
The restoration usually begins with complete disassembly. The seat is removed first, and if the frame feels loose or unstable, the entire chair should be carefully taken apart piece by piece. Experts strongly recommend numbering the parts with pencil before dismantling them because older chairs can quickly turn into confusing puzzles during reassembly.
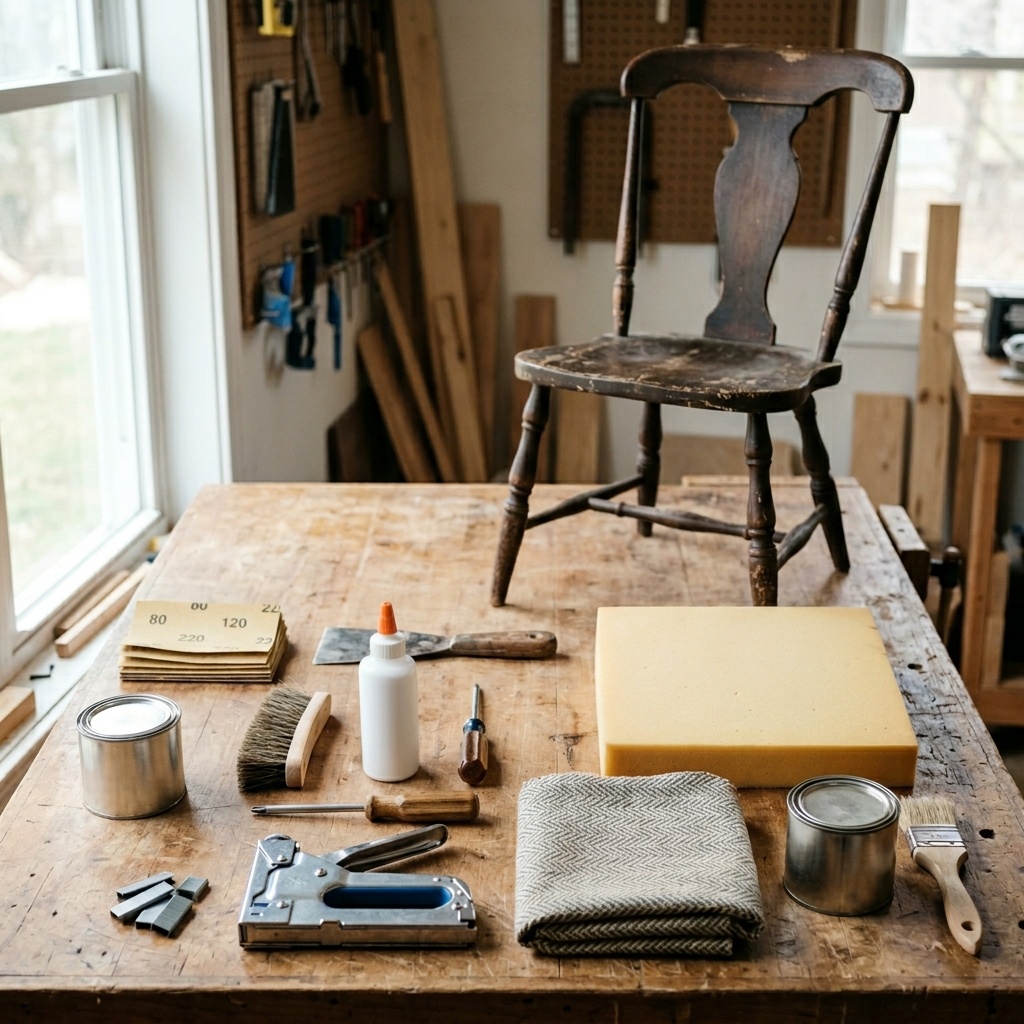
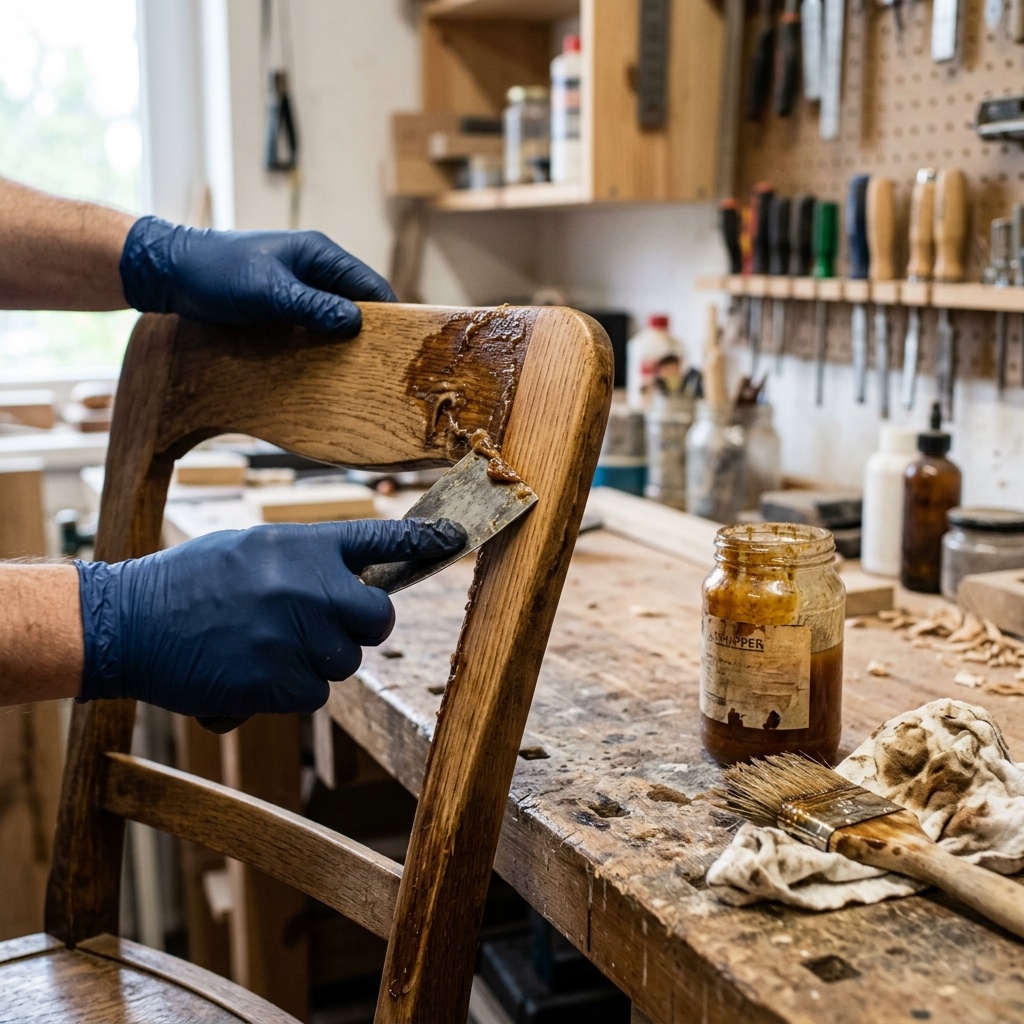
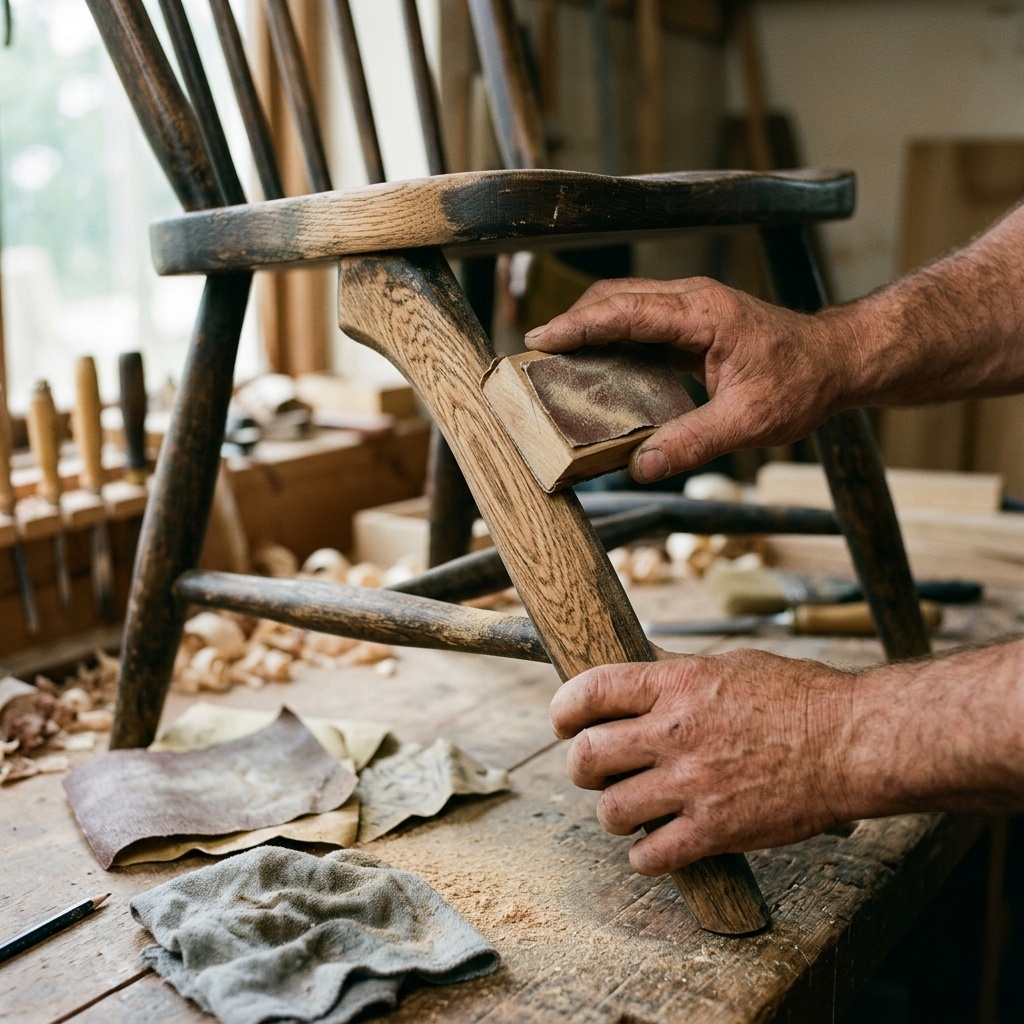
Removing the old lacquer is often the most dramatic stage. Many restorers use a gel remover to soften thick Soviet-era varnish before carefully scraping it away with a spatula along the wood grain. After that comes hours of sanding — first with rough sandpaper to strip everything down to bare wood, then with finer paper until the surface becomes completely smooth. By this point, the chair often already looks decades younger.
Once cleaned and polished, the frame is glued back together using strong woodworking glue and tightly secured while drying for a full day. Some people use professional clamps, while others improvise with thick rope or luggage straps. After the structure becomes solid again, the chair can either be coated with matte paint for a modern makeover or treated with oil-wax to preserve the original texture of the wood.
The final step is reupholstering the seat. Old fabric and crumbling foam are removed, replaced with fresh padding and covered with new furniture fabric stretched tightly and fixed underneath with a stapler. Many restorers say this stage changes everything because the chair suddenly stops looking like “old furniture” and starts looking like a designer vintage piece worth hundreds.

Experienced DIY fans also shared several tricks that make the result look even more professional. Deep cracks can be filled using a homemade wood filler created from sanding dust mixed with glue, while loose joints can be reinforced with medical gauze soaked in adhesive. And one rule comes up constantly: never rush. According to restorers, careful preparation matters far more than expensive tools — and that’s exactly why even a forgotten chair can end up looking like an expensive mid-century interior piece again.