“I was ashamed to open my closet—until this changed everything.” No money, no fancy racks, just cardboard and tape 🩰📦 The DIY organizer turned my messy shoe pile into a dream. See the result in the article 👇
Shoes, like anything else in the house, need proper care. Every season, they need to be cleaned and stored neatly. But when it comes to storage… well, that’s always a challenge.
Celebrities might have those glamorous walk-in closets with built-in shoe racks, but for us regular people, it’s a different story.

Sure, you can store shoes in their original boxes. But I prefer seeing all my shoes at once. Otherwise, they get stacked in boxes, and I forget where each pair is, even if I try to label them.
Now that it’s warm in my region, I’ve swapped out my winter boots for lighter shoes – sneakers, flats, and trainers are back in rotation. Soon, sandals and flip-flops will join them too.

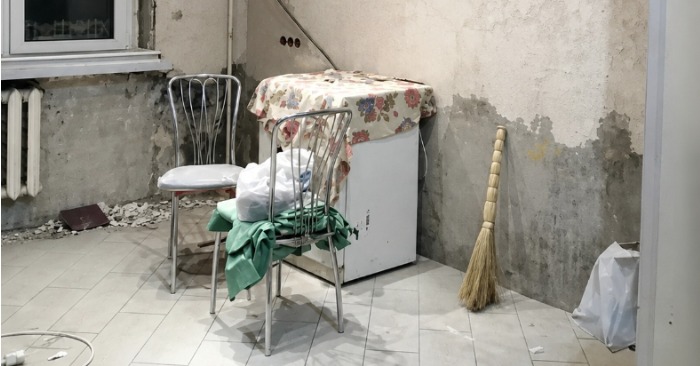
When I started taking my summer shoes down from storage, I was horrified to see them just thrown in the closet in a messy pile. These aren’t just old garden shoes – they’re nice shoes I love wearing!
Something had to be done.
💡 That’s when I came up with the idea to make a shoe organizer.
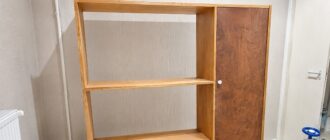
It didn’t cost me anything, but now my closet is finally organized.
Here’s what I used:
✔️ Sturdy corrugated cardboard (from old appliance boxes)
✔️ Tape
✔️ A bit of free time (thank you, school holidays!)
My design is simple: triangular compartments joined together. Each section is made of three cardboard pieces.


📏 For reference:
Each piece of cardboard is 14×28 cm, but you can customize the size for your space.
First, I made individual triangles and then taped them together. In hindsight, a stapler might have been faster, but tape worked well and held everything firmly.
This method lets you create an organizer of any height or width to suit your closet.

Finally, I wrapped the entire structure with tape again to reinforce it and covered the edges with paper tape to prevent the cardboard from peeling over time.
Now everything is neat and organized. I’m so happy with the result – and it was such a productive way to spend the day.