
It’s time to stop buying cheese from the stores as this is the BEST way how to make it at home! 🧀🤤 This homemade cheese can’t even compare to the store-bought varieties with its high quality and freshness! 🤫👌 All you need is 3️⃣ liters of unprocessed milk! 🥛🍶 You will be surprised by how tasty it will turn out to be every single time! 😋 Be ready to take notes as I am going to share the recipe in this article! 👇
If you want soft, delicate, and incredibly flavorful cheese, making it at home is a fantastic option. I personally prefer the oven method, as it consistently gives me the best results. The process itself is quite simple, though finding good-quality farm-fresh milk can sometimes be a challenge. Today, I’m using homemade milk, though I haven’t yet tested this method with store-bought varieties.

Ingredients:
Fresh, unprocessed milk – 3 to 6 liters (adjust the quantity based on your needs)
Approximately 1 kg of cheese is obtained from 3 liters of milk, but the yield varies depending on fat content.
Step-by-Step Instructions:
For this batch, I’m using 6 liters of fresh milk. While I prefer homemade milk, you can experiment with store-bought as long as it has a short shelf life, which usually indicates minimal processing.
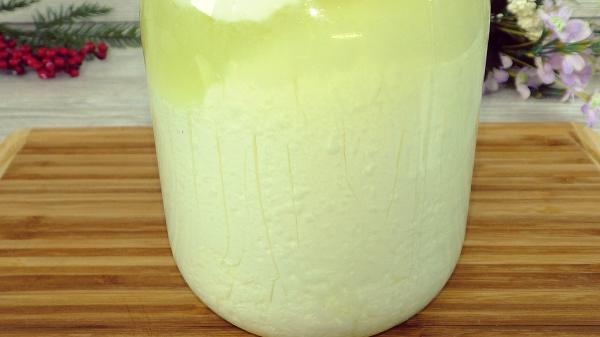
Allow the milk to sour – Pour the milk into jars, cover them with lids, and let them sit at room temperature (around 20–22°C) for 2 to 3 days. If the weather is warm, this process happens more quickly. You’ll know it’s ready when the thickened milk starts pulling away from the sides of the jar when tilted.
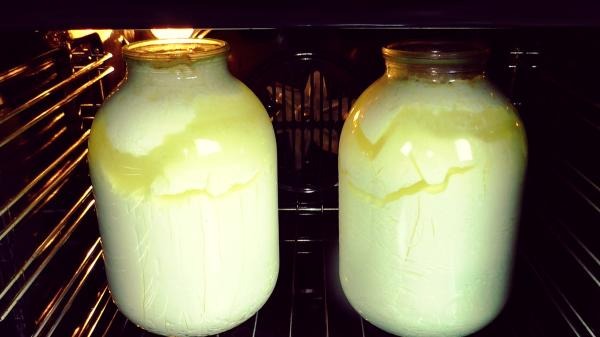
Heat in the oven – I keep the cream layer intact (though you can remove it if you prefer). Place the jars into a cold oven (make sure they’re intact with no cracks). Set the temperature to 130°C and let them heat for 50–60 minutes. Once done, turn off the oven and allow everything to cool inside without opening the door.
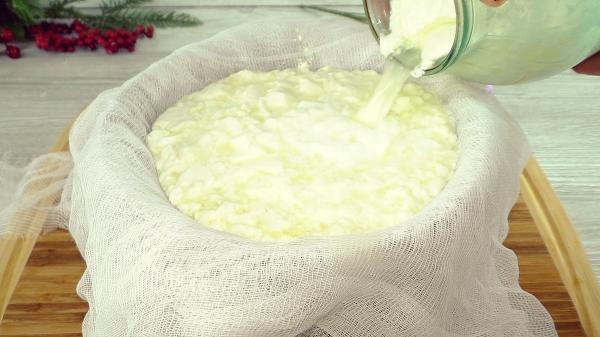
Straining the cheese – After the mixture has fully cooled, you’ll notice a smooth, uniform cheese has formed. Take a sieve or colander, line it with several layers of clean cheesecloth, and carefully pour in the curds, allowing the whey to drain. You can let it strain naturally, hang the cheesecloth to drip, or place a small weight on top for a firmer texture.

The result is a soft yet structured cheese that’s perfect for a variety of uses. Enjoy it with fruits like bananas or berries for a sweet treat, or mix in salt and herbs for a savory option. This homemade cheese also works wonderfully in baked dishes!