It was time to say goodbye to this antique chair, but our heroine had other plans! 😉✌️ While others would toss out this out-of-date piece of furniture, a woman named Elena saw hidden potential and gave it a second life maintaining its historical essence! 🤗👏 The worn upholstery, sea grass padding and old-fashioned looks of the chair left a lot to be desired! 🪑🤢 However, she didn’t give up giving it an amazing makeover! 🛠️🔃 I will share the before-after photos in this article! 👇
Restoring antique furniture is more than just a makeover—it’s a way to honor history while giving a cherished piece a second chance. That’s exactly what a woman named Elena did when she discovered a stunning yet timeworn chair and carefully brought it back to life.
From her:
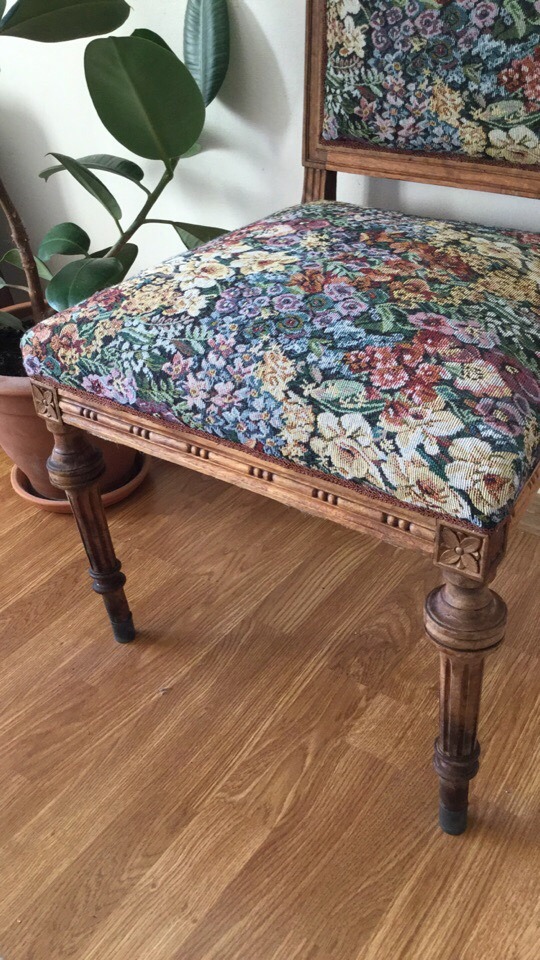
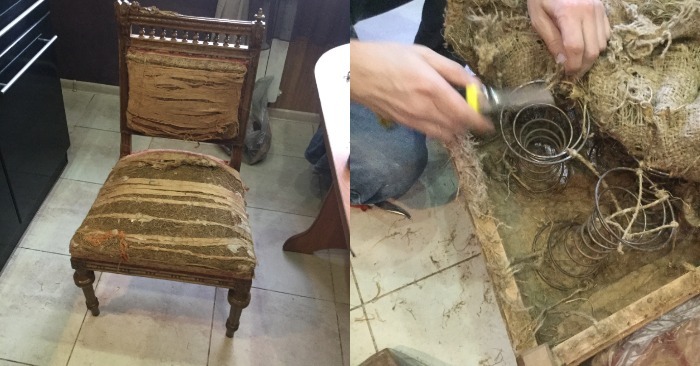
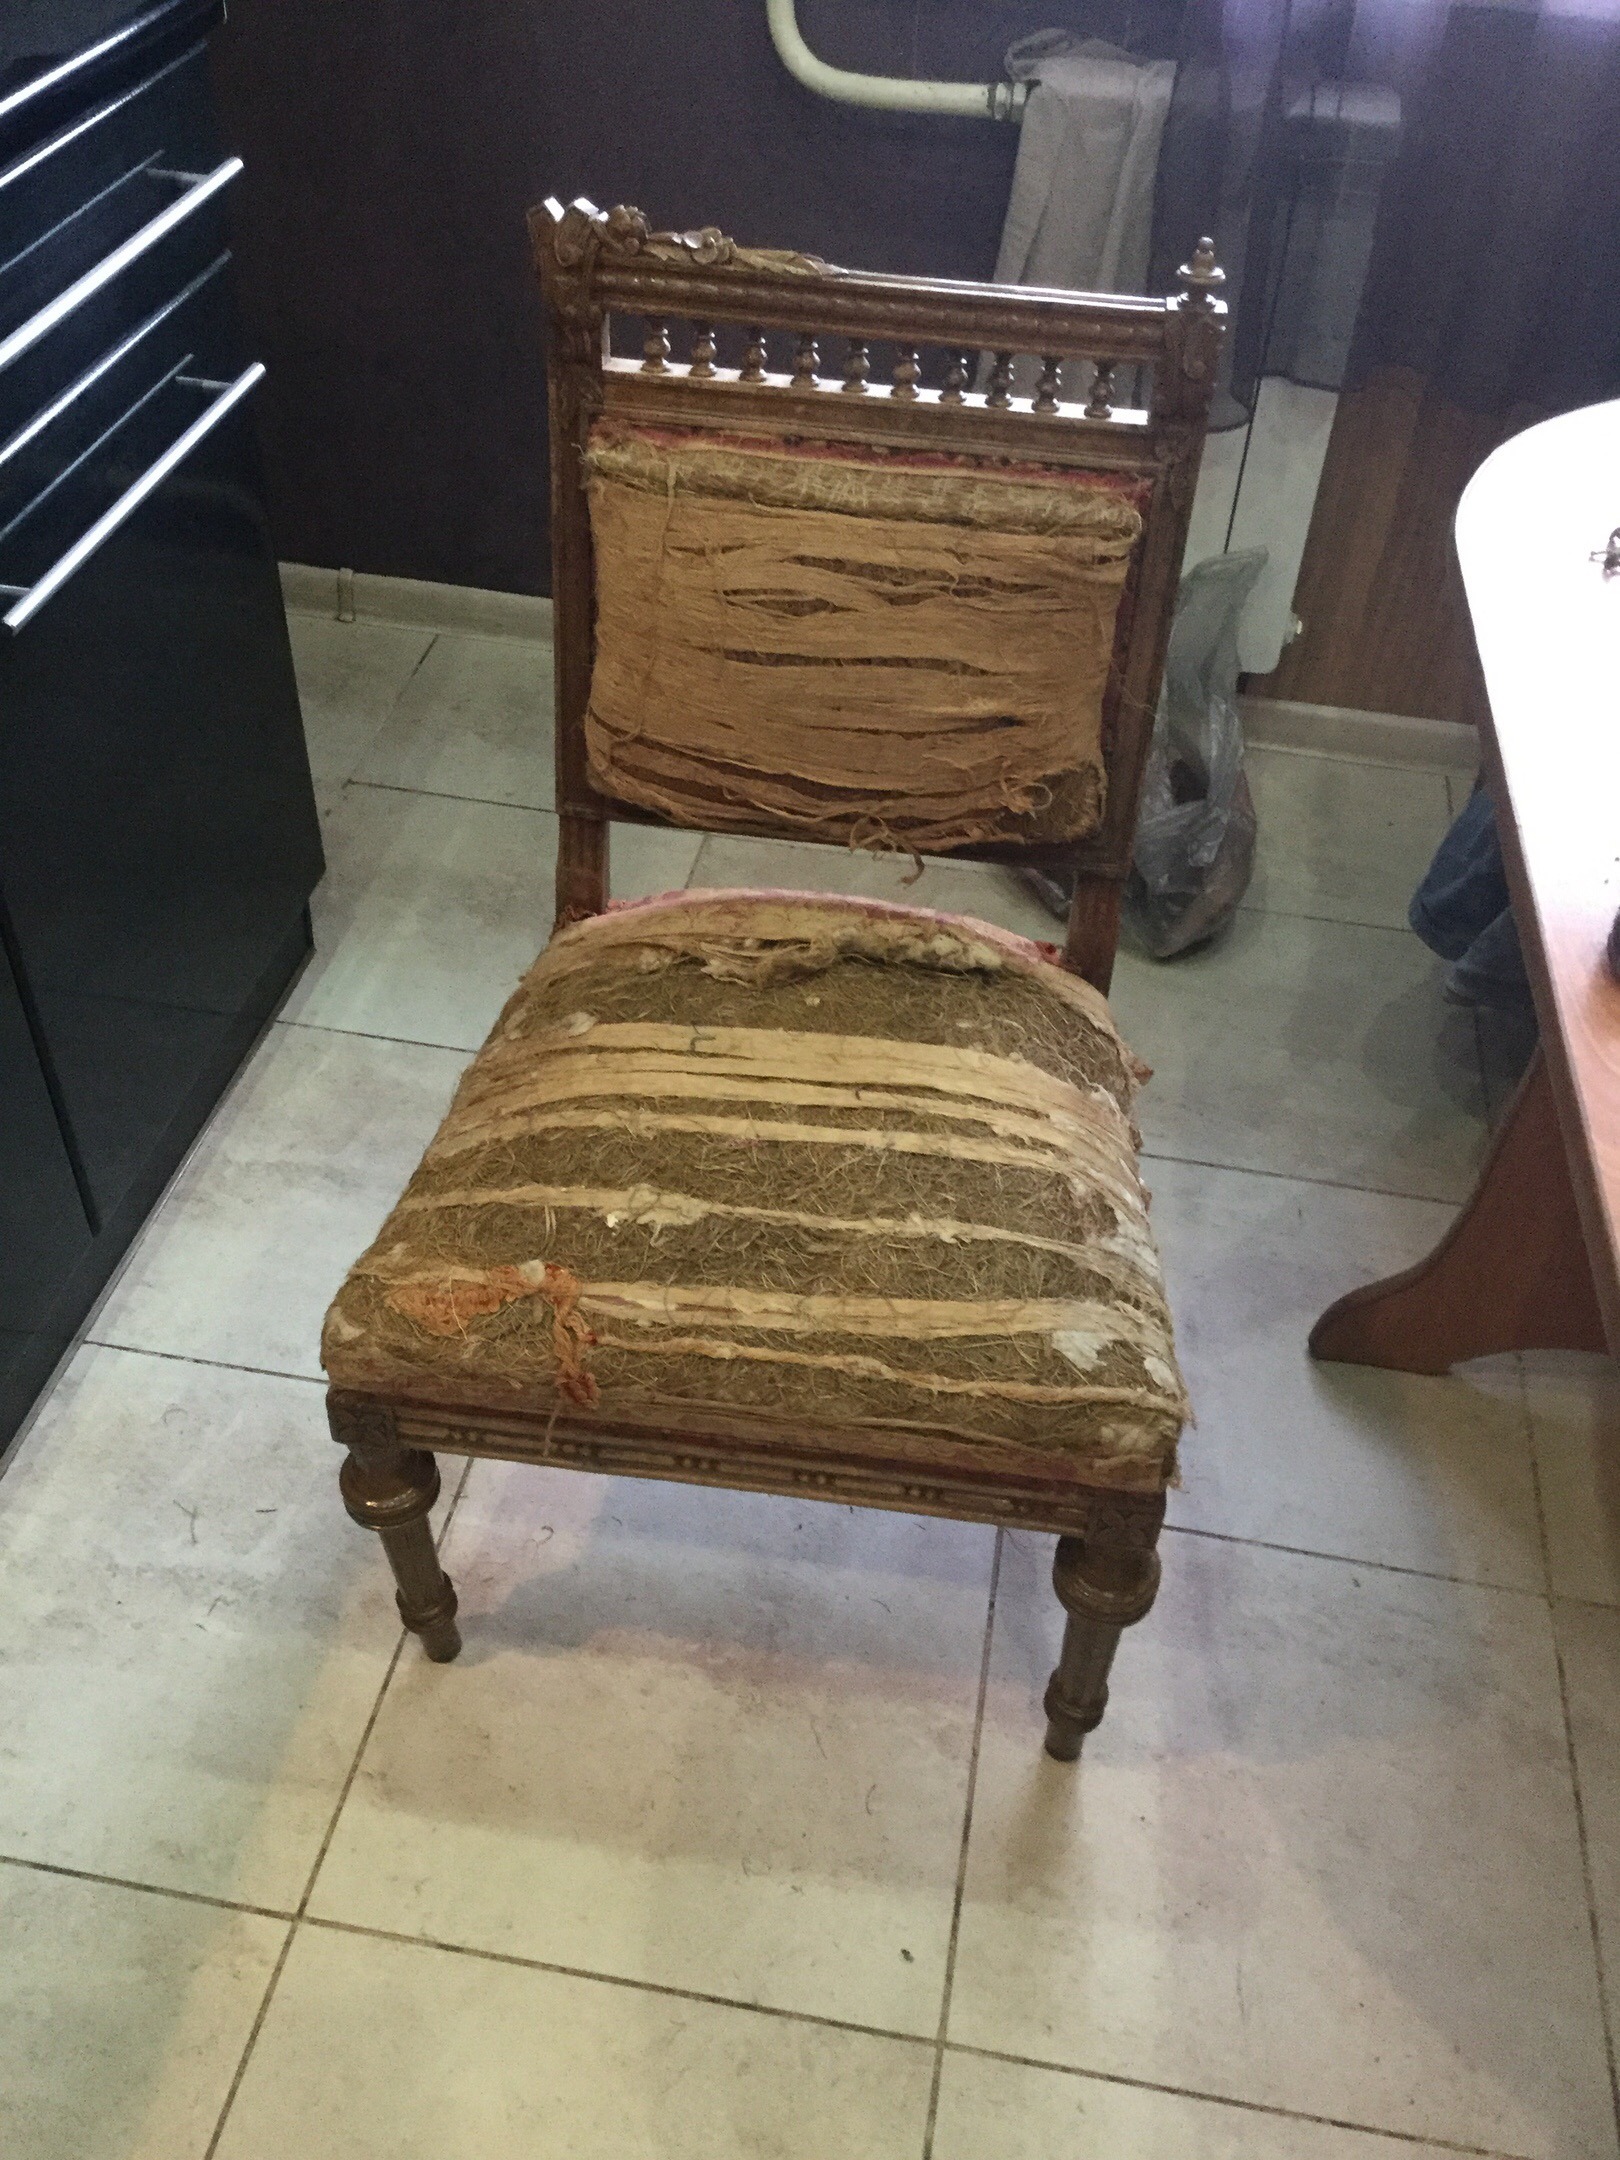
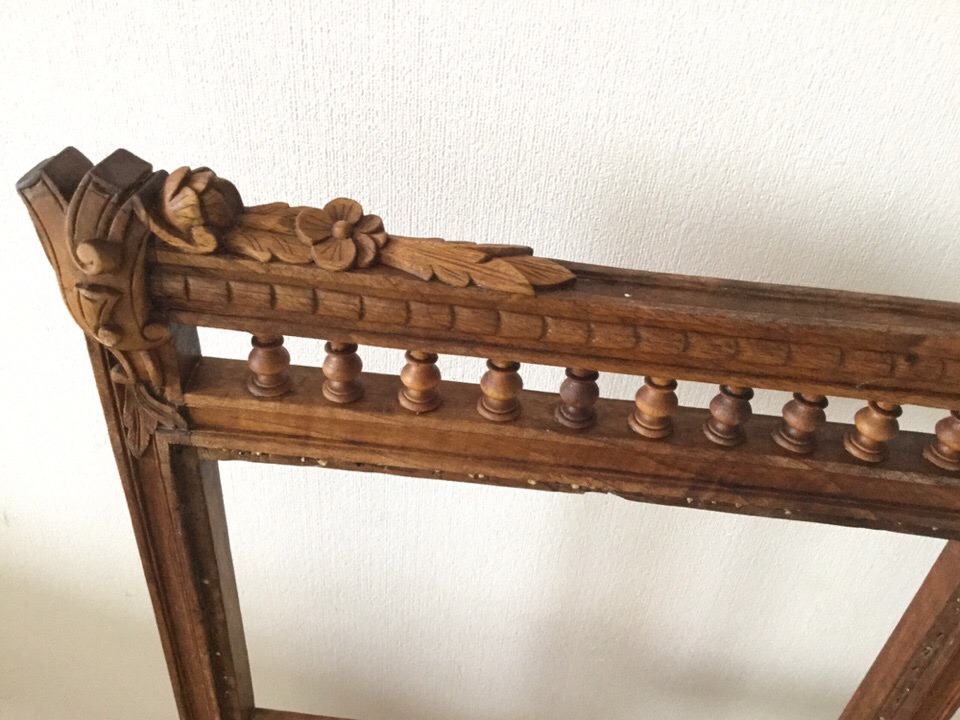
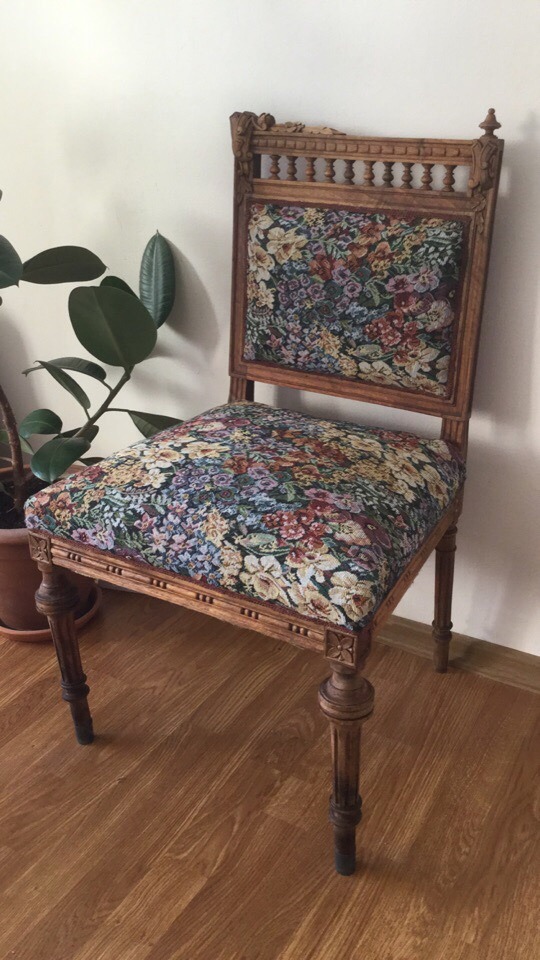
During the winter holidays, I was driving past a flea market when I spotted an old chair that immediately caught my attention. It had a rich history. I purchased it for 1,500 rubles, knowing that this was no ordinary piece. Made from walnut and crafted before 1860, the chair featured a uniquely asymmetrical backrest, something even antique specialists found intriguing.
Though its structure was still intact, time had taken its toll. The upholstery had worn away, revealing aged springs and sea grass padding. My goal was to restore it while maintaining its historical essence. Having no prior experience with antique restoration, I set out to use authentic materials and retain as much of its original craftsmanship as possible.
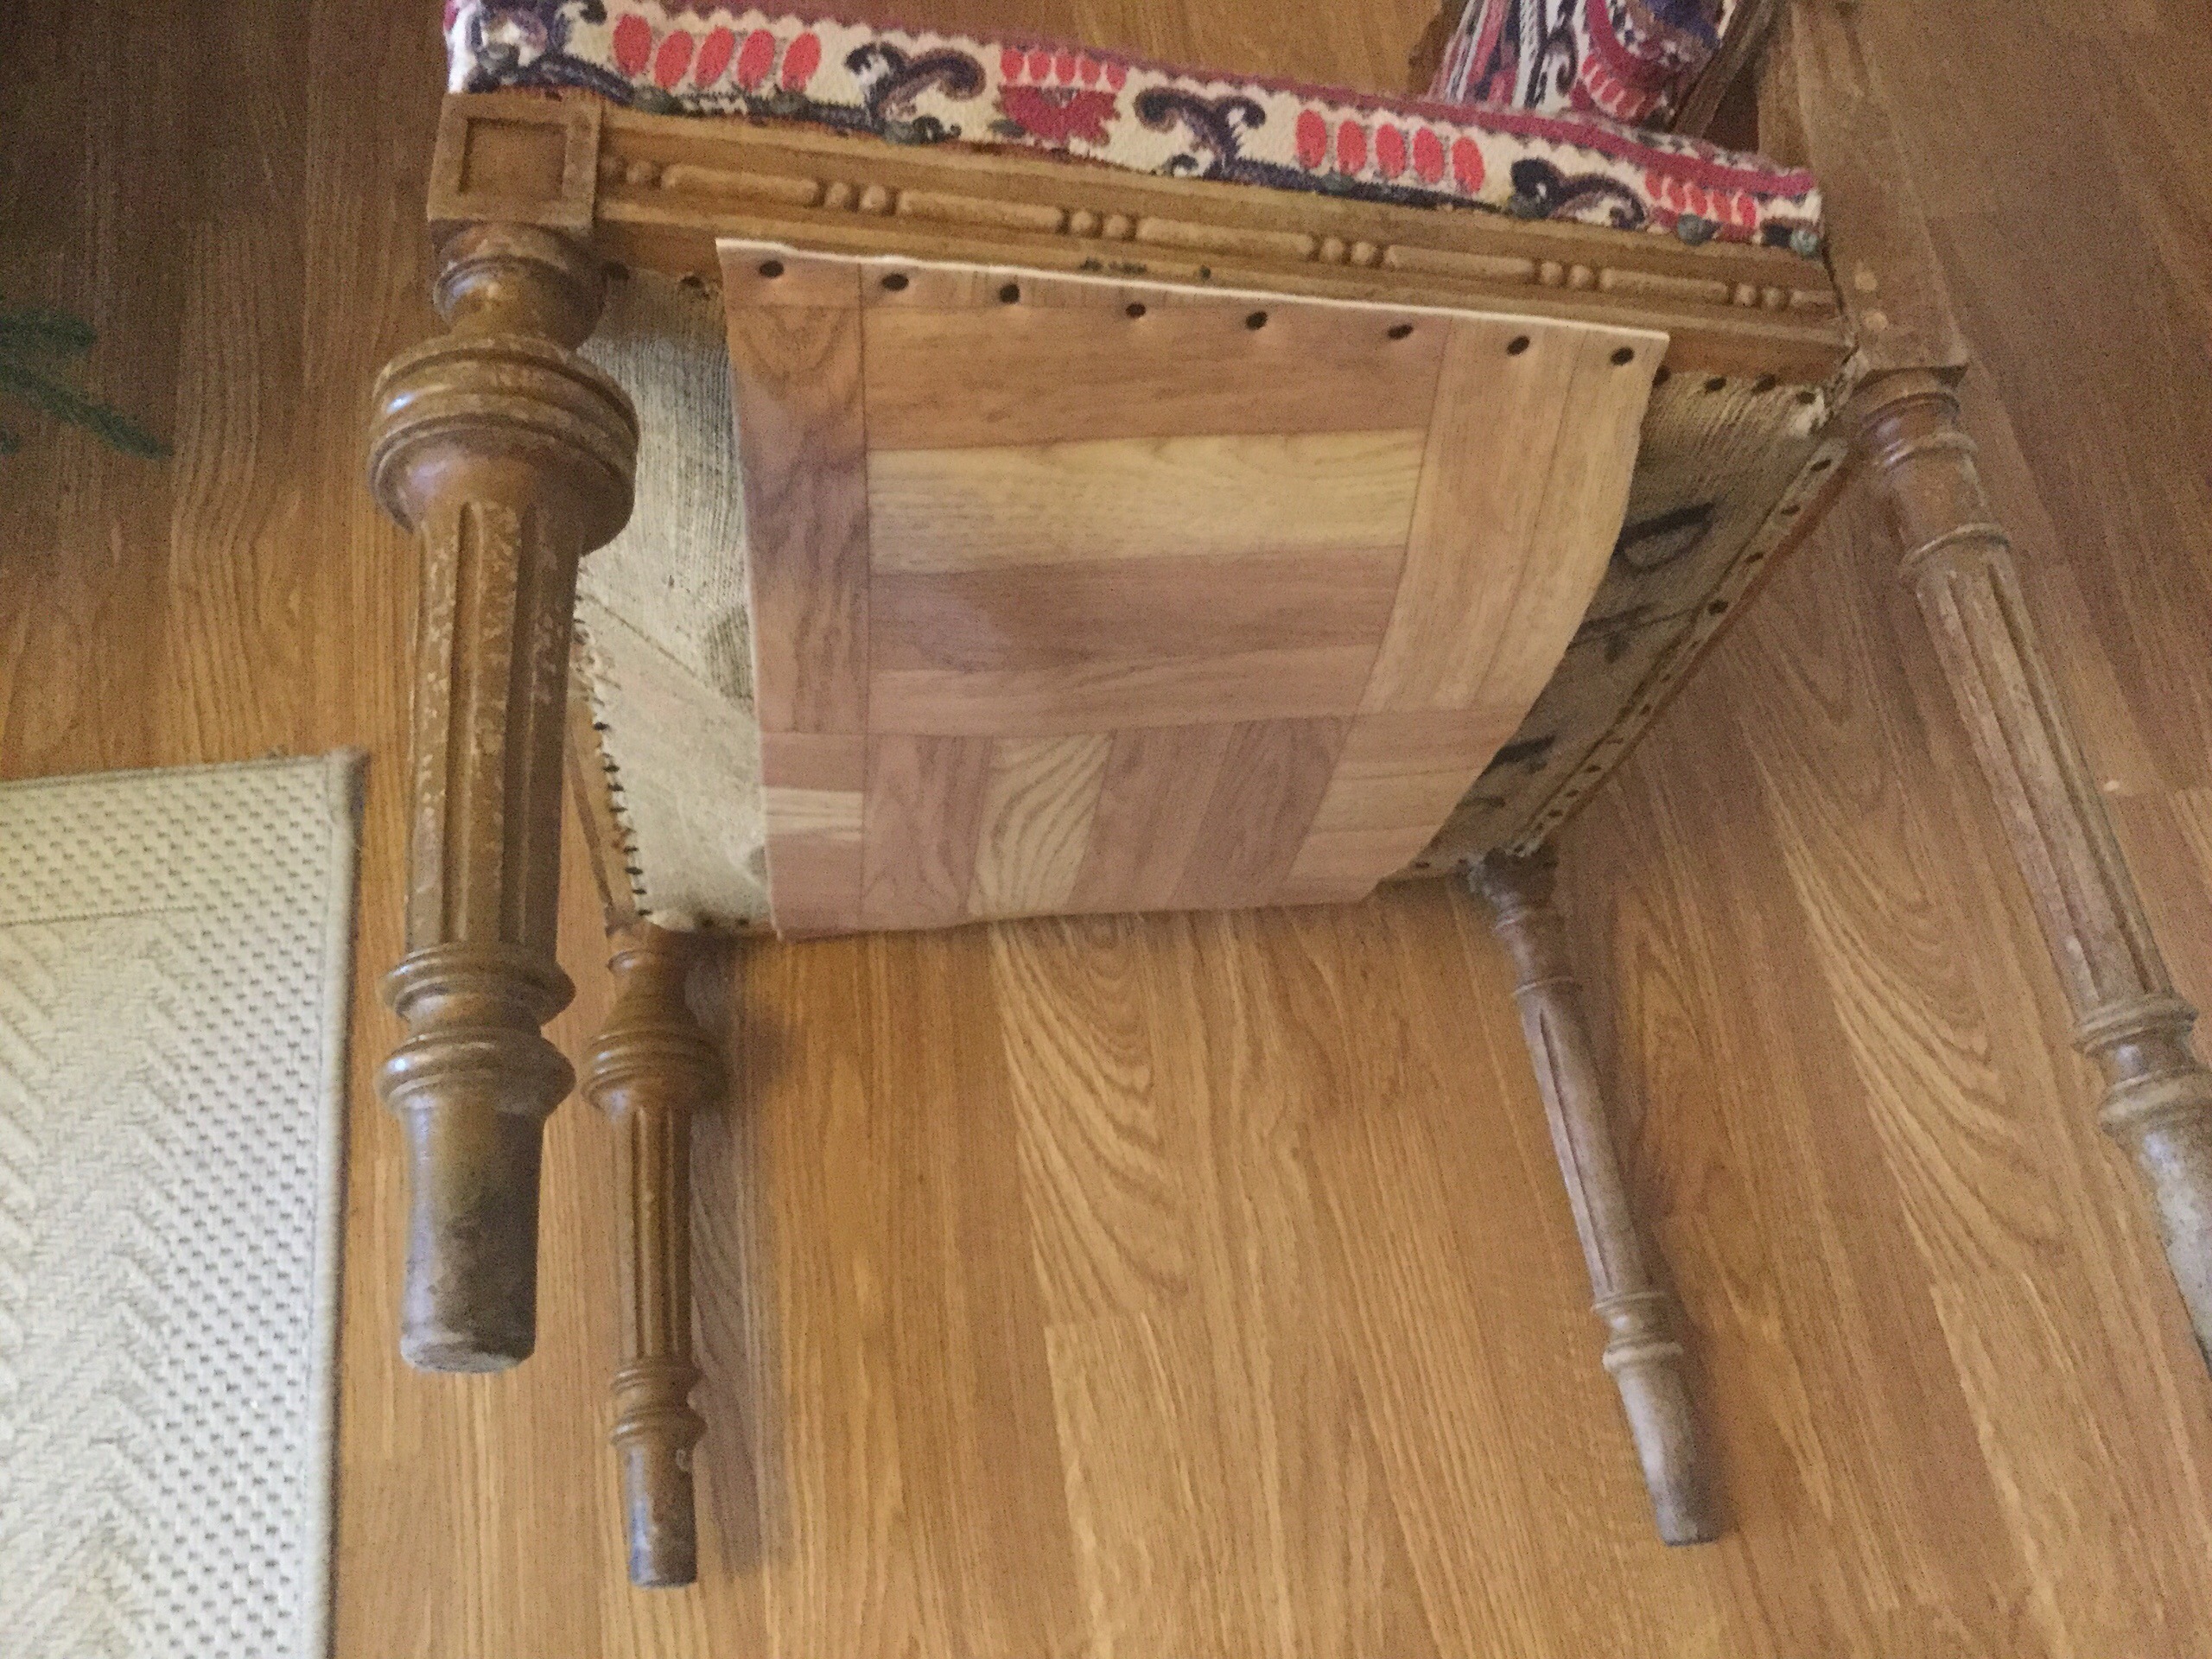

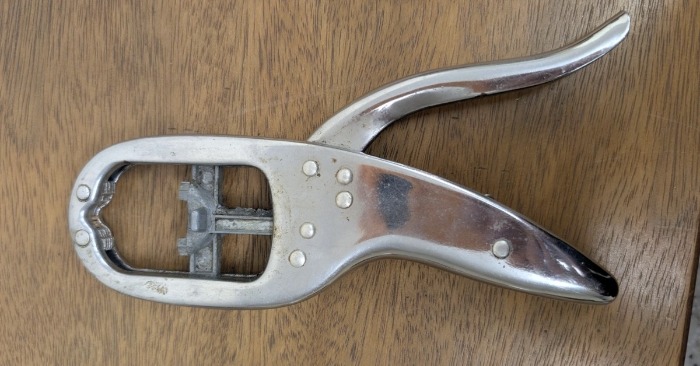
The first step was stripping off old finishes and painstakingly removing hundreds of hand-forged nails. The frame had several cracks that needed reinforcing, so I glued and stabilized every joint. Thankfully, my husband’s carpentry skills were invaluable—without his expertise, I would have struggled to repair the frame properly.
For the finish, I chose colorless restoration oil, steering clear of glossy varnishes. I didn’t want the chair to look brand new—I wanted its age to be celebrated, not erased. When selecting the fabric, I made sure it complemented the chair’s character rather than overpowering it.
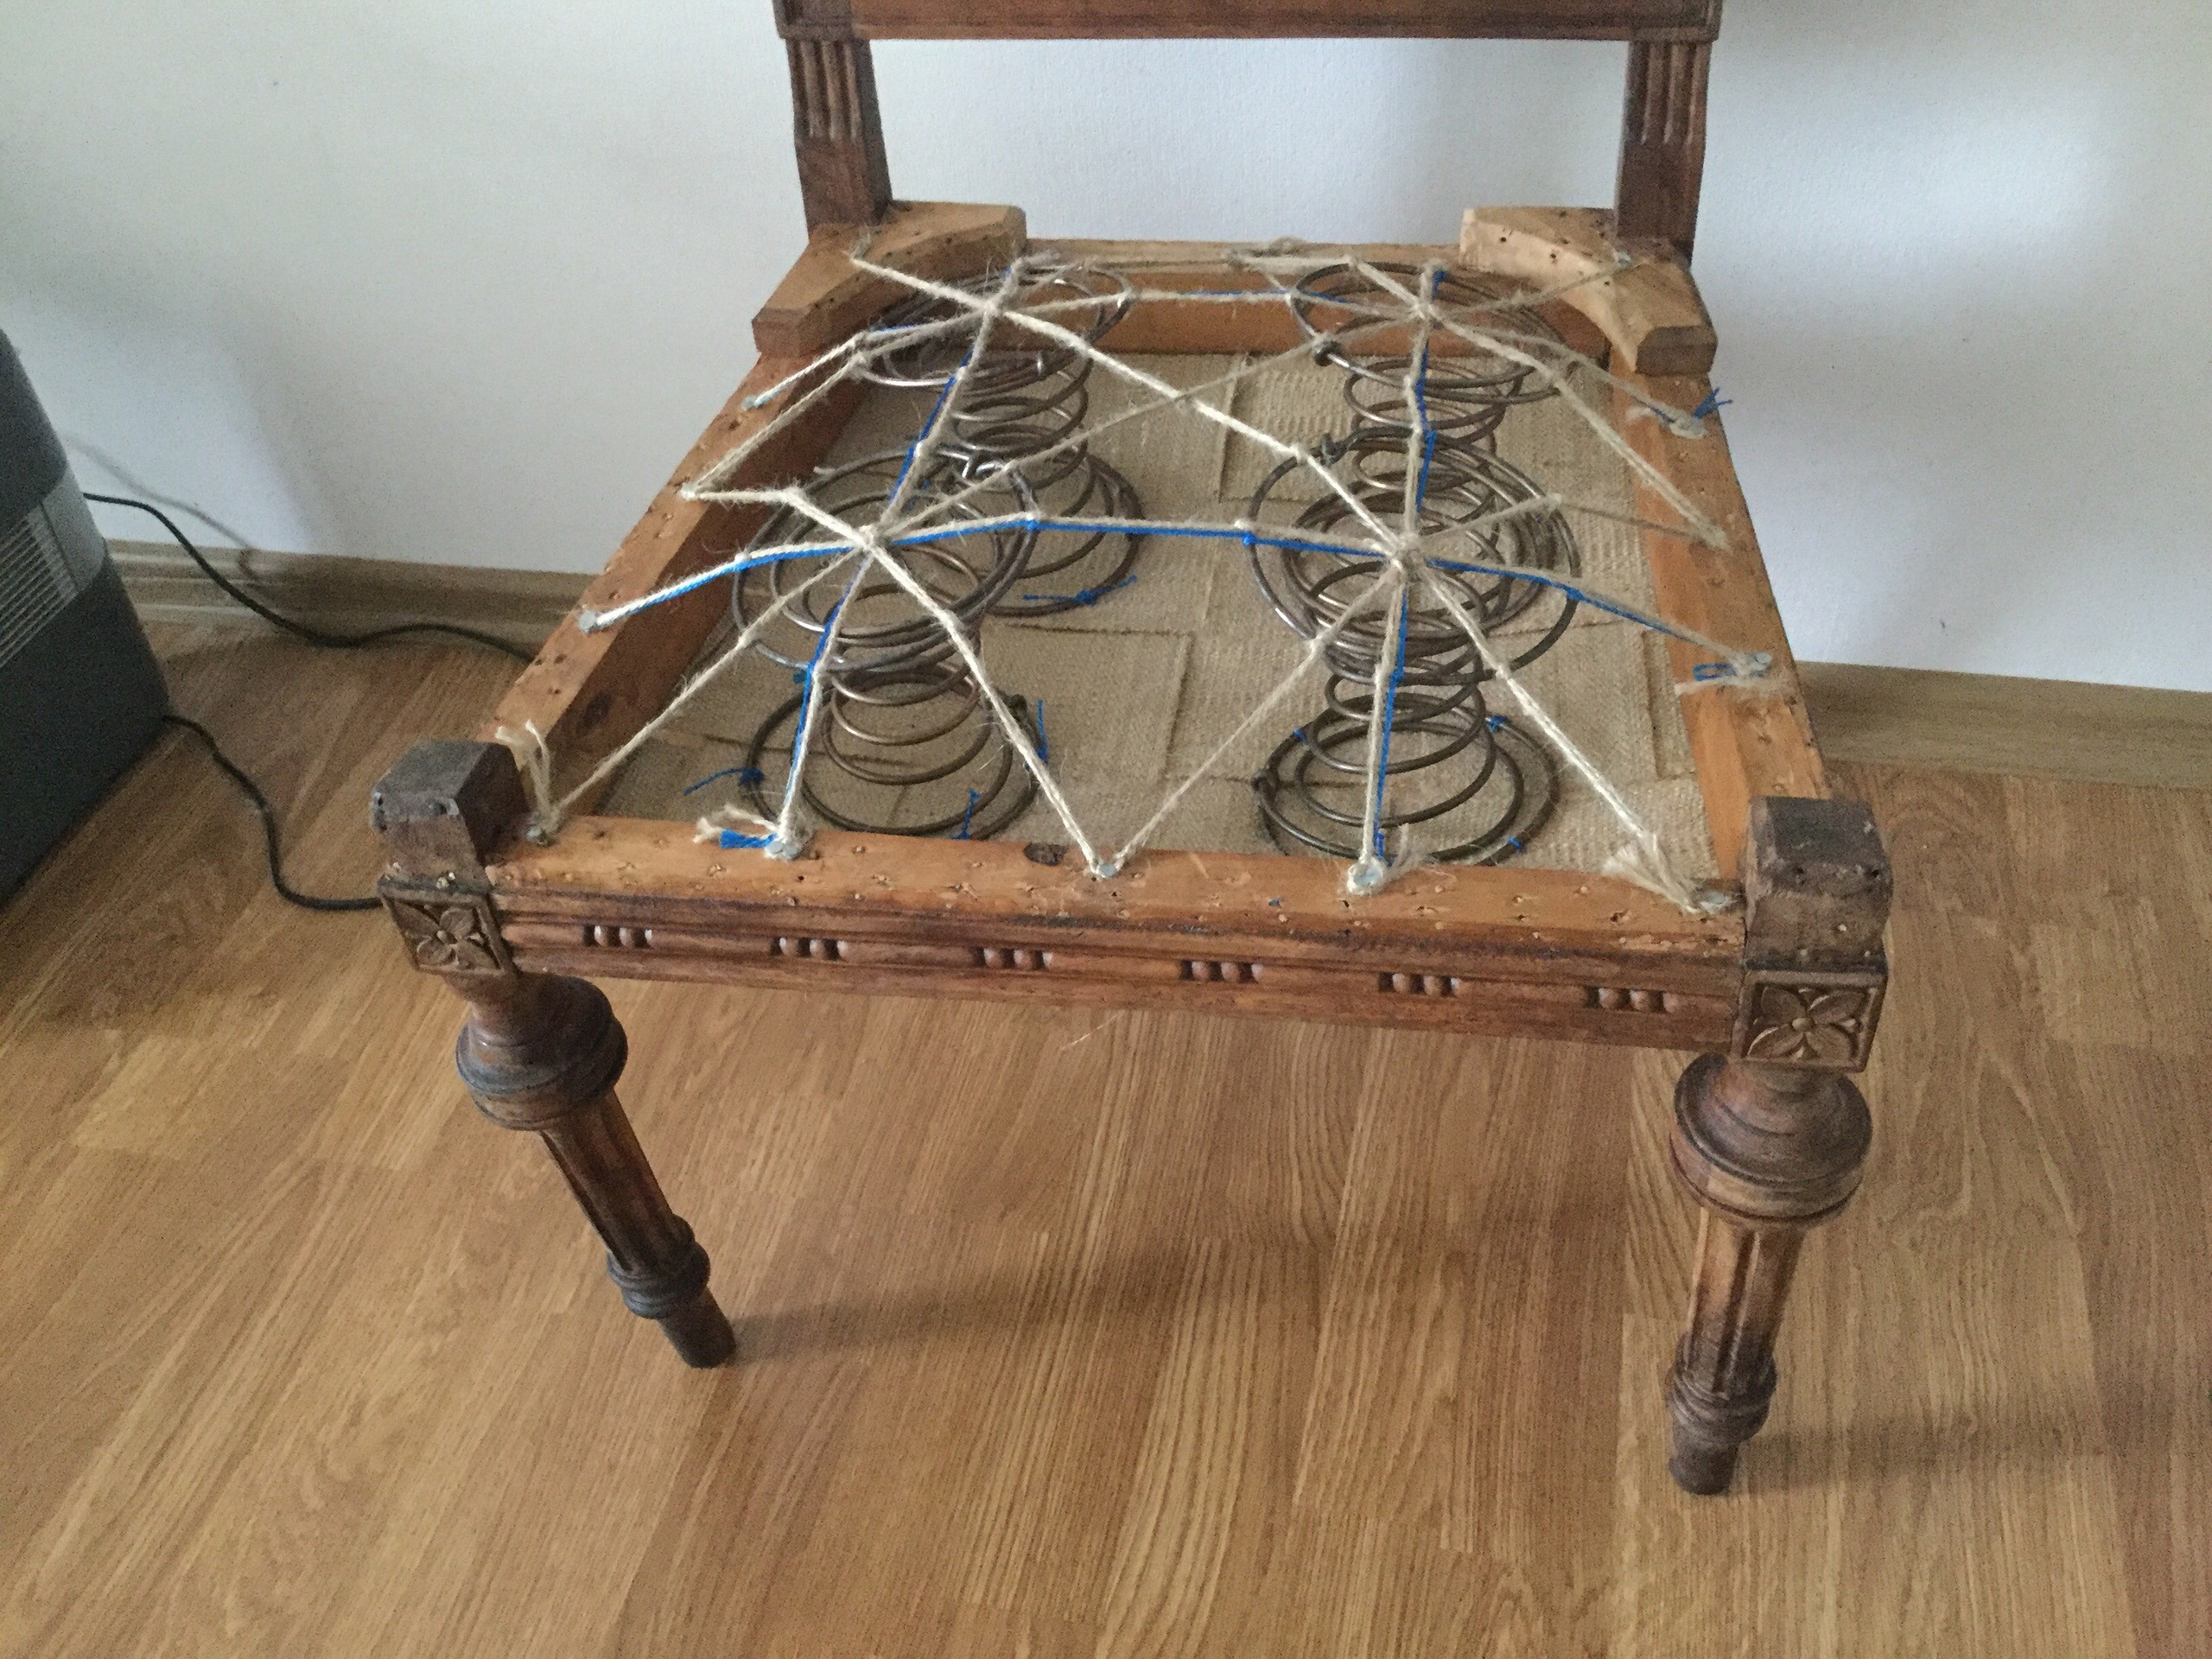
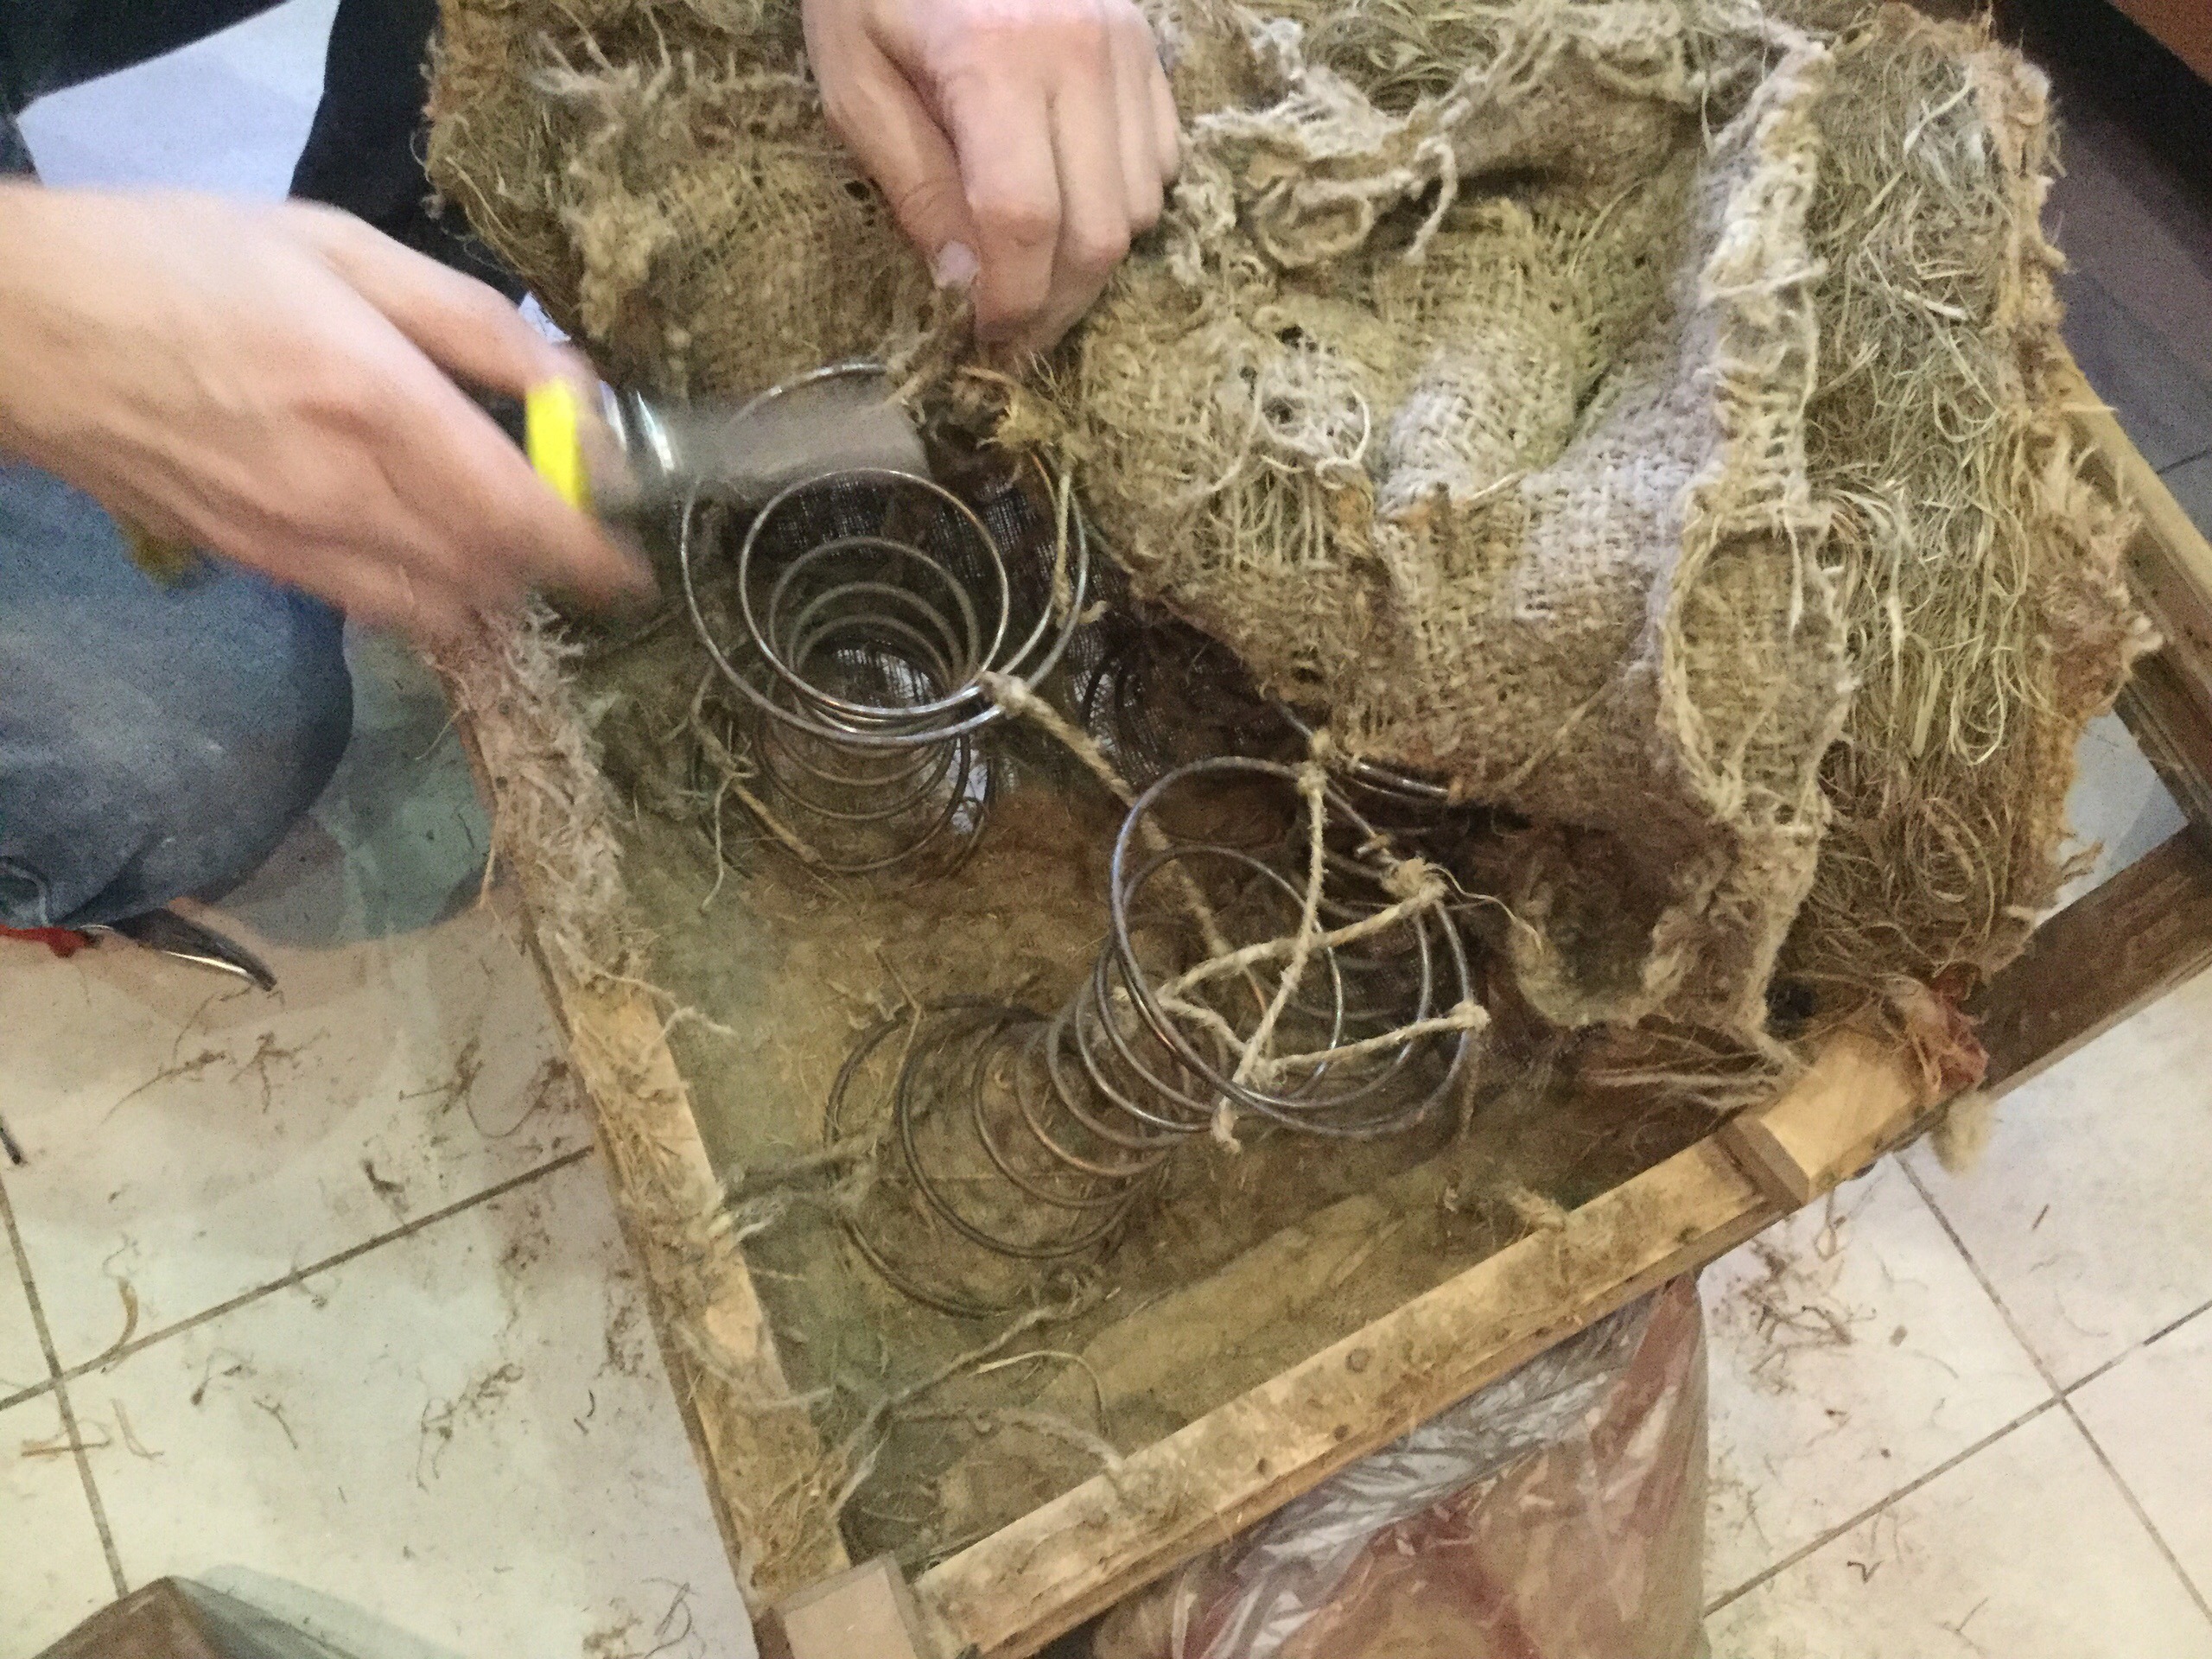
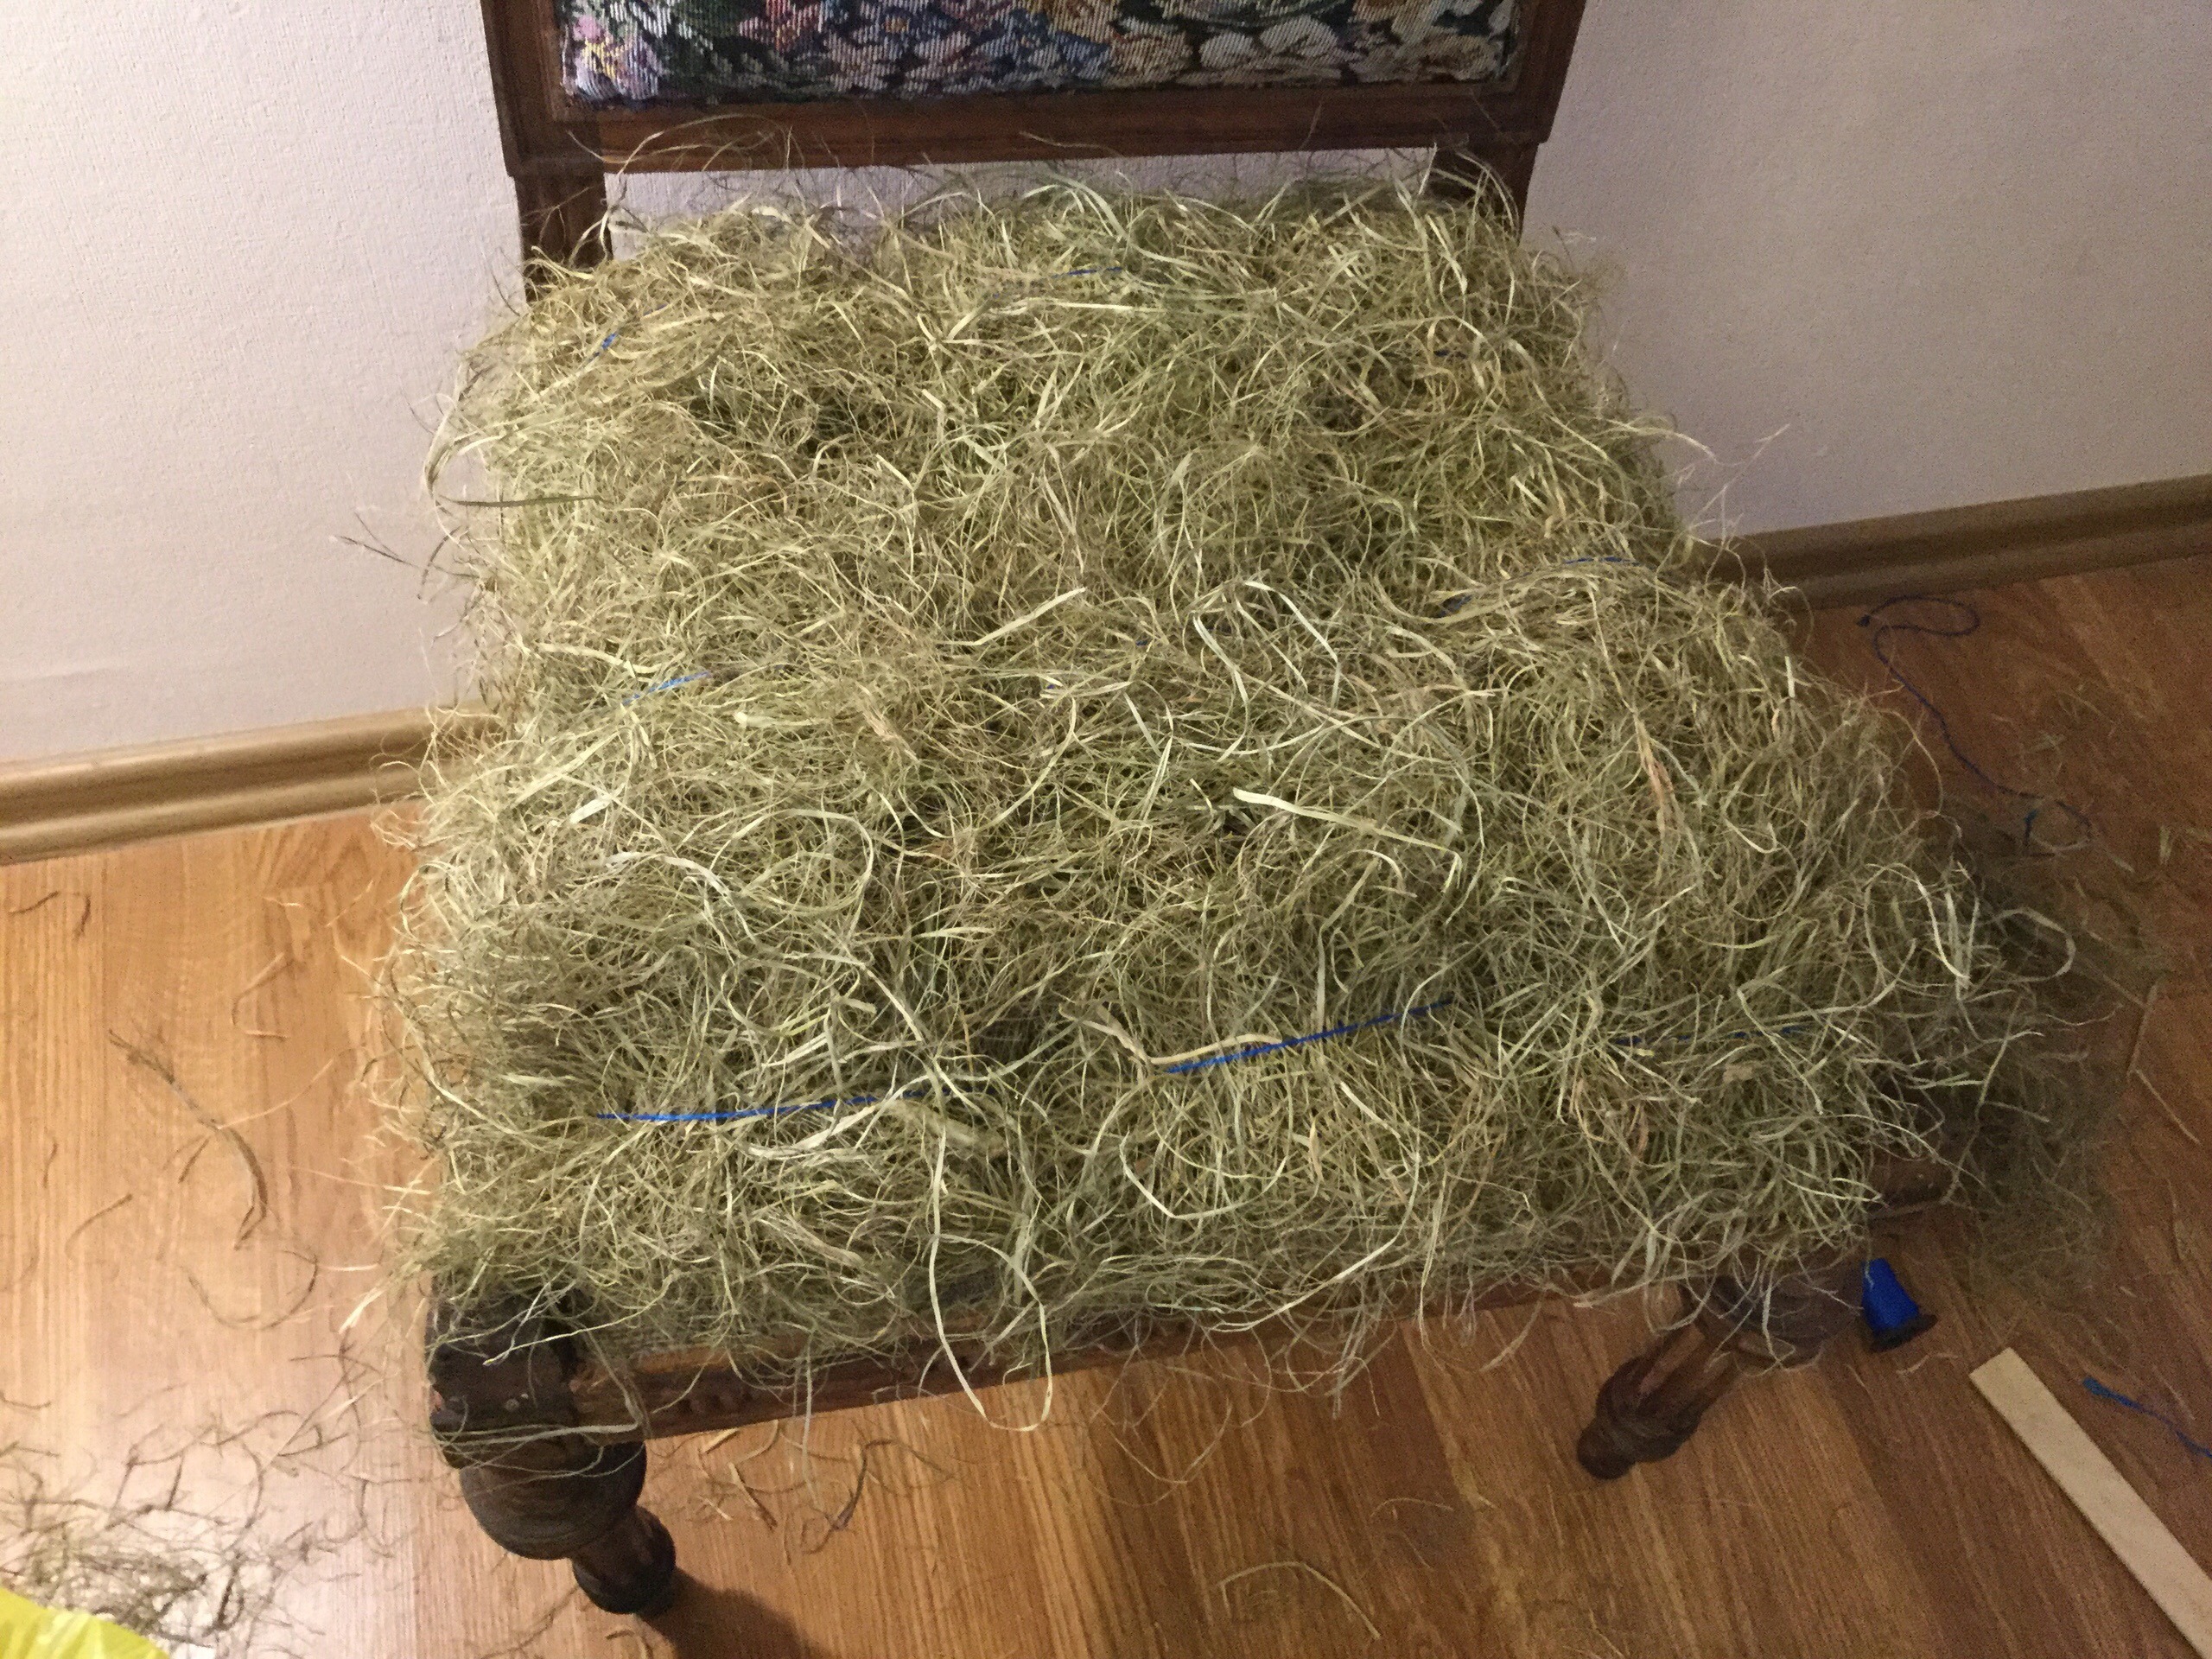
The structural restoration was the most challenging part. We reattached jute straps, secured the old springs, and painstakingly hand-tied them—a process that tested our patience more than once. The chair’s front legs had been shortened at some point, so we had to extend them back to their original proportions. Finally, I restuffed the seat with sea grass, sourcing almost all the materials online to ensure historical accuracy.
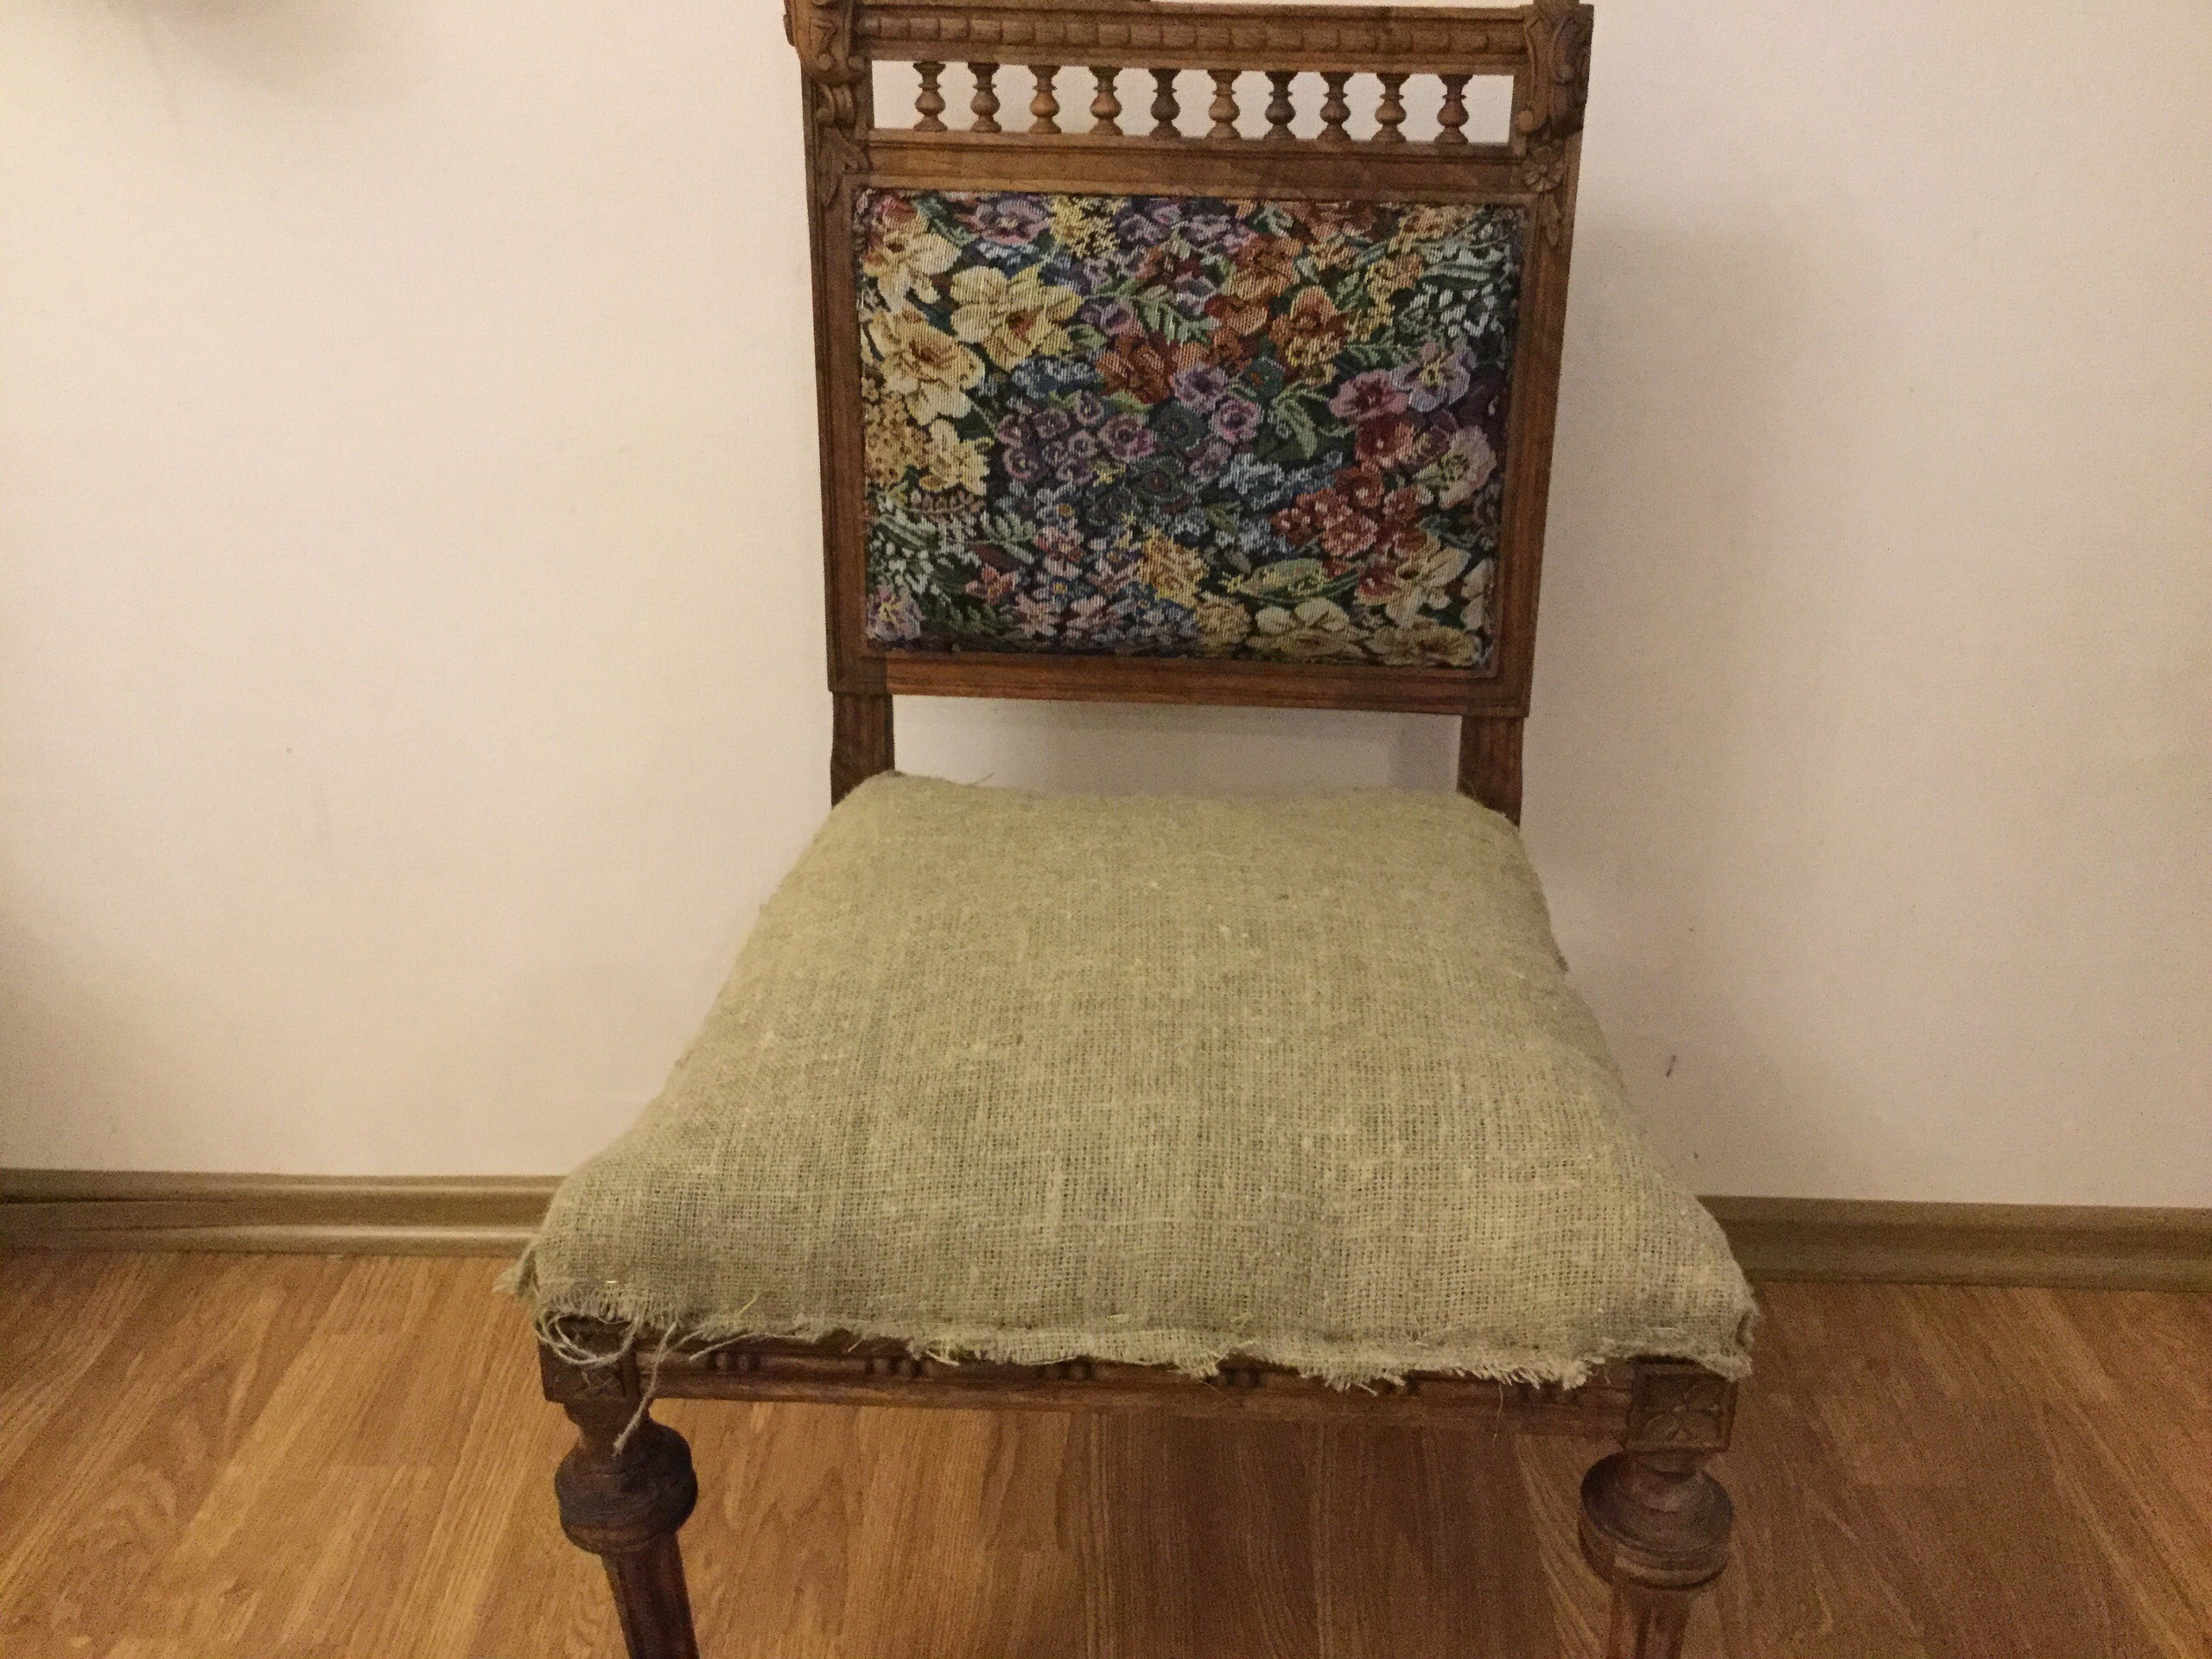
The Final Result
This project required patience, skill, and perseverance. For anyone considering a similar restoration, be prepared—antique furniture repair is time-consuming, labor-intensive, and can be costly. Unless you have woodworking experience, the right tools, and the determination to redo steps multiple times, it’s not a task to take on lightly. But for me, the journey was deeply rewarding.
I want to express my gratitude to everyone who offered guidance and support throughout this project. The transformation of this chair was truly a labor of love, and now it sits proudly in our home, carrying its history into the future.
Shall we take a look?