“From Trash to Treasure!” 🗑️➡️🎨 A few days ago, I found an old suitcase near the trash and decided to give it a second life. 🧳💪 Even though everyone thought it was impossible, I turned it into something truly special! 💖 In my article, I’ll show you the whole process and the final result of my work. 📸👇
When I dragged home an old, discarded suitcase, I was met with puzzled looks and questions like, “Why bother with that piece of junk?” But while others saw trash, I saw potential. And after a bit of hard work, the transformation left everyone speechless.

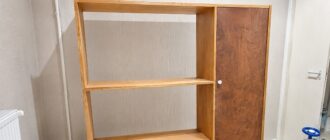
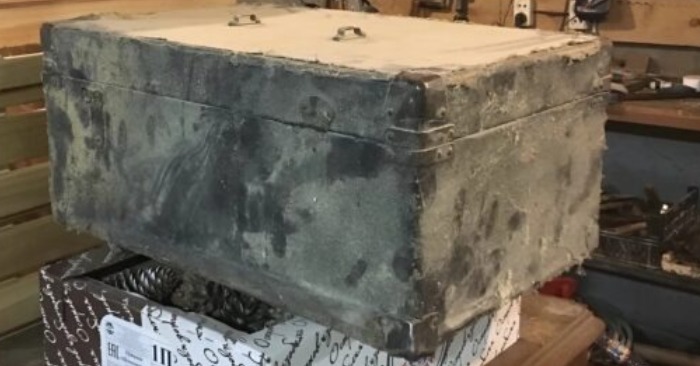
Stripping It Down: The First Step
The suitcase had clearly seen better days. The outer covering was peeling, and the bottom was in particularly bad shape, with the top layer of plywood barely holding together. So, the first task was to strip it down completely.
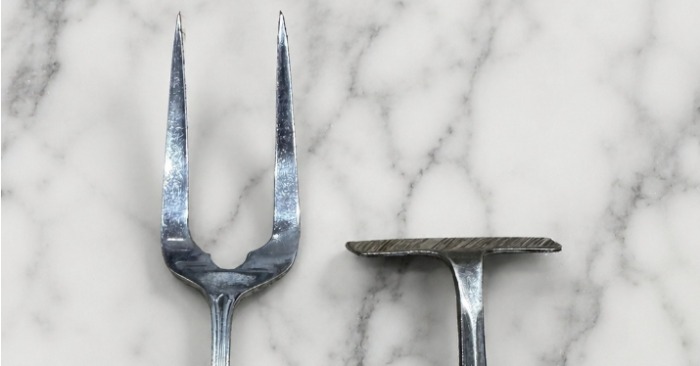
Armed with a knife and a trowel, I carefully removed the damaged layers. In one spot, the plywood was too fragile to salvage, so I had to glue it back together before moving on.
Fixing the Gaps and Smoothing the Surface
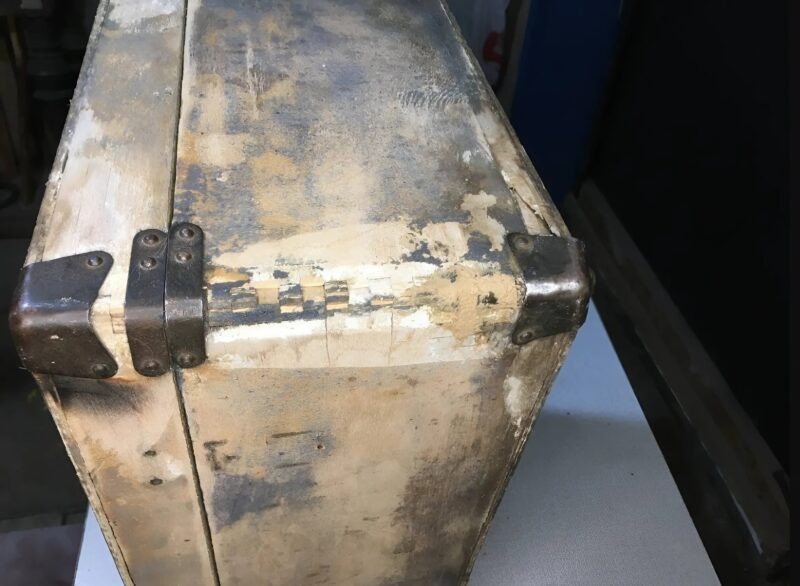
The corners had deep cracks and gaps, so I mixed wood glue with fine sawdust from my grinder to create a filler. Using a rubber spatula, I filled in the damaged areas and smoothed out the imperfections.
Once the repairs dried, I sanded everything down with an electric sander. For the smallest cracks and blemishes, I applied wood putty and sanded again before moving on to the priming stage.
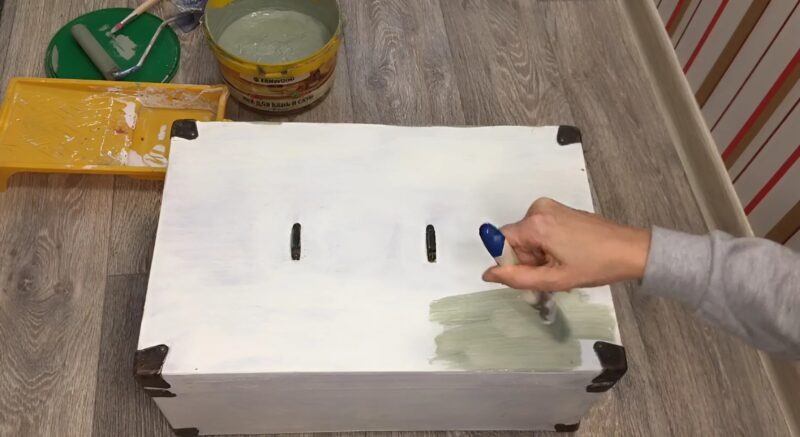
Painting and Decorating
With the surface prepped, I applied a primer coat and let it dry completely. The next day, I used a brush and roller to add the first coat of paint, letting it sit for 12 hours before applying a second layer.
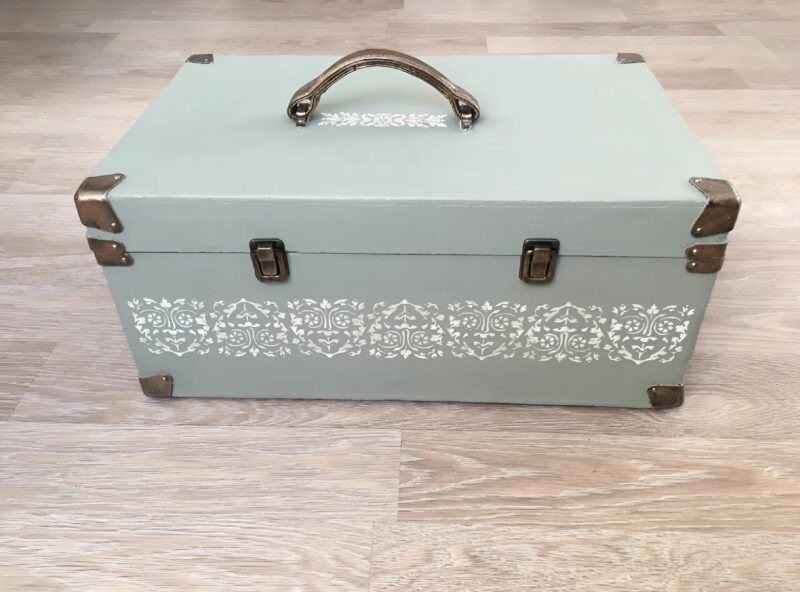
To give it some personality, I decided to add a decorative pattern. I had an old stencil I hadn’t used in ages, so I carefully applied wood putty over it with a spatula, creating a raised ornamental design on the lid and sides of the suitcase.

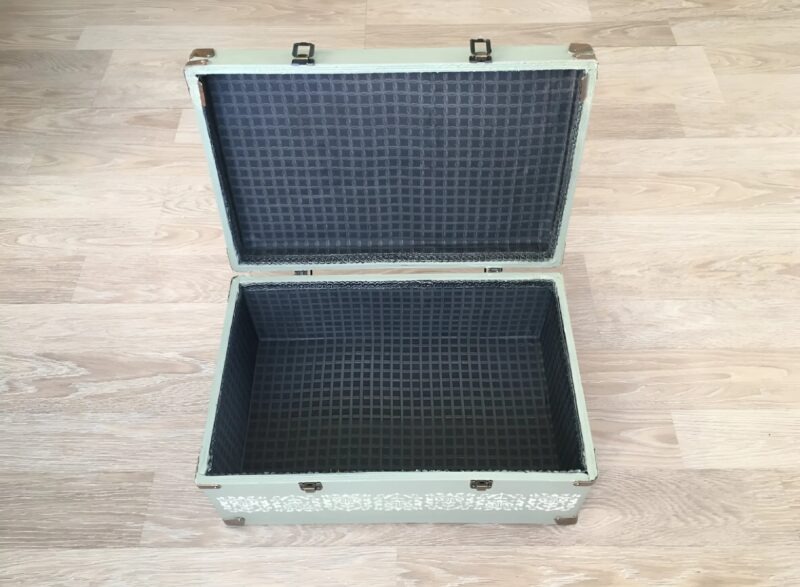
A Handmade Handle and Elegant Interior
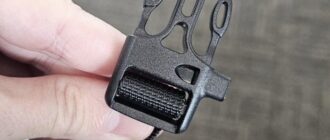
For the handle, I repurposed an old bag strap, reinforcing it with glue and stitches to ensure durability. The inside was lined with fabric, which I secured neatly using hot glue.
To cover the fabric’s raw edges, I found some decorative braid from a relative’s wedding dress. After painting it with acrylic paint, I carefully glued it along the seams, adding a touch of elegance to the interior.
Final Touches: Locks, Patina, and Protection
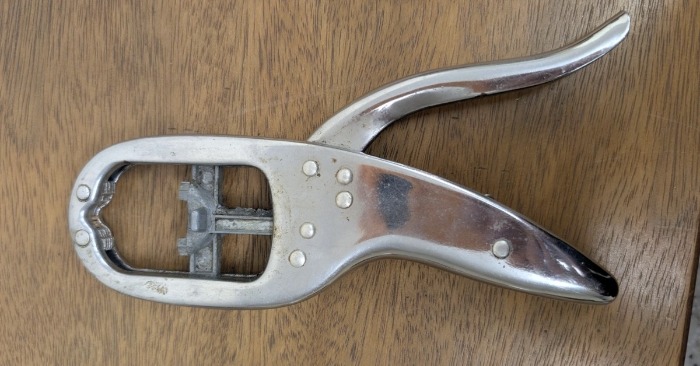
The original metal fittings were mostly intact, except for one broken lock that needed replacing. The rest I treated with a bronze patina, giving them a vintage, slightly aged look.
To protect the paint and detailing, I sealed everything with acrylic varnish. The final step was screwing on the new locks—the only thing I actually had to purchase for this project.
The Grand Reveal
After hours of work, the suitcase was finally reborn. It had gone from a piece of trash to a beautifully restored vintage piece—without spending a fortune! Seeing the finished product made all the effort worth it, and I couldn’t be happier with the result.